Luckily ImageFramer allows you to experiment with different varieties of mats and frames in a variety of textures which accentuate and highlight various aspects of your still life photographs.
In this tutorial, we will see a few ways that ImageFramer helps turn an unremarkable still life photo into something spectacular, and how it can provide your customers with an opportunity to see how versatile your photographs can be.
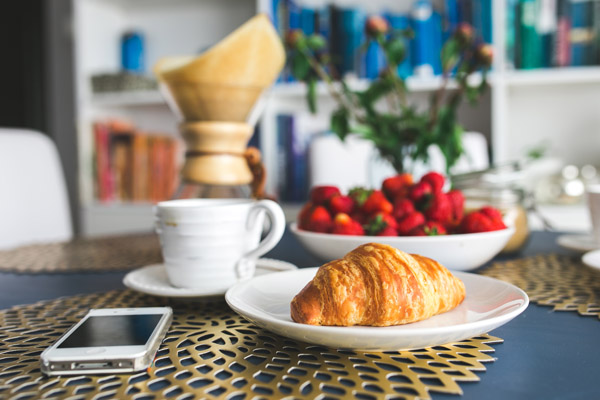
Let’s make this still life photo pop!
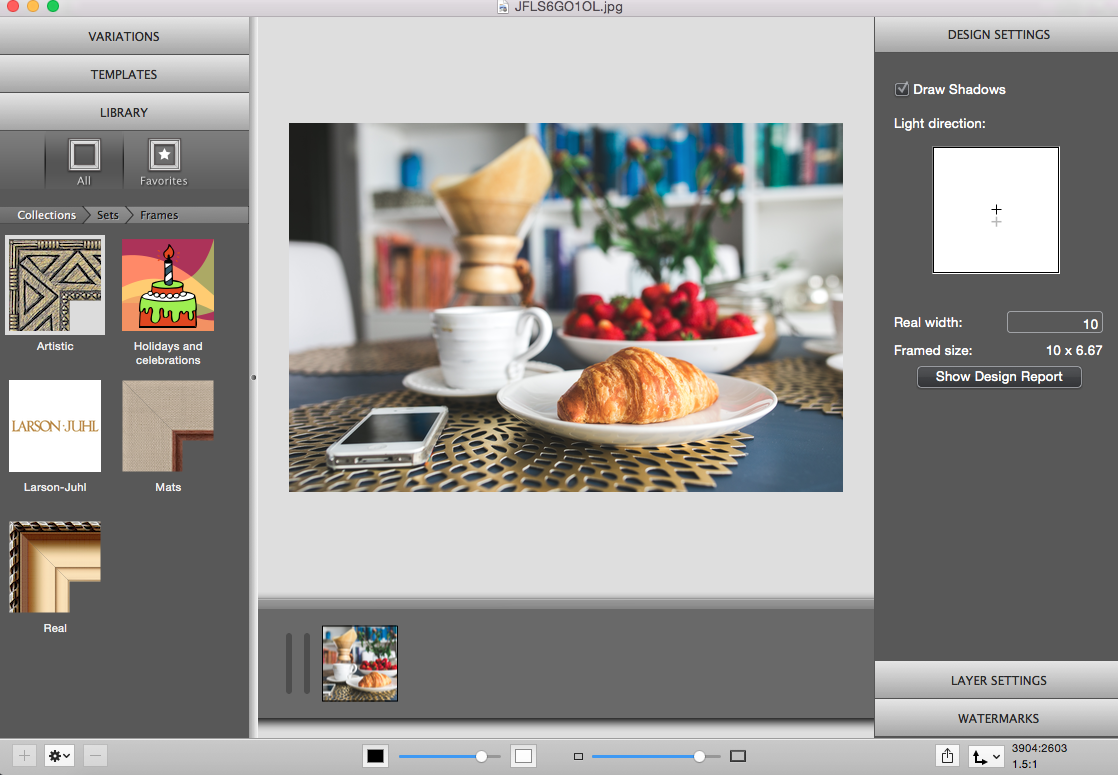
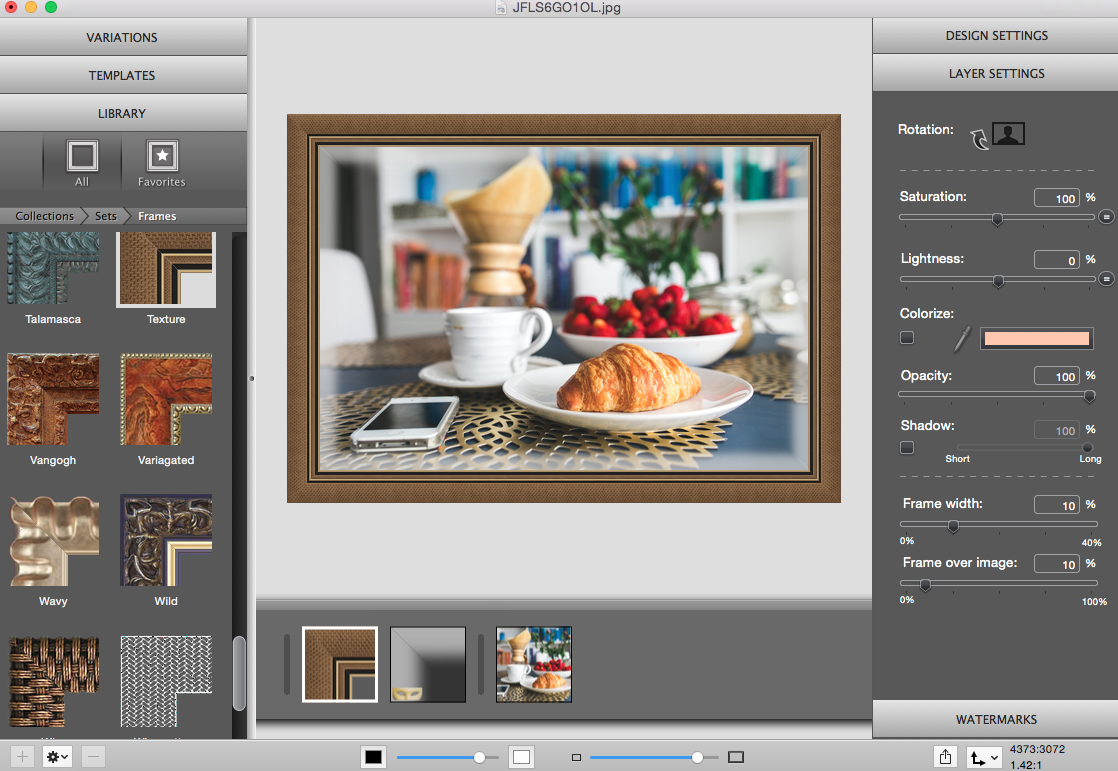
To start, I’ve dropped my still life photo into ImageFramer. It’s a pretty simple photo: lots of white items and a few accent colours from the strawberries and croissant in a brightly-lit room, but by adding a mat (I’ve selected ‘Pure White’) we can see how the whites in the photo become much more prominent.
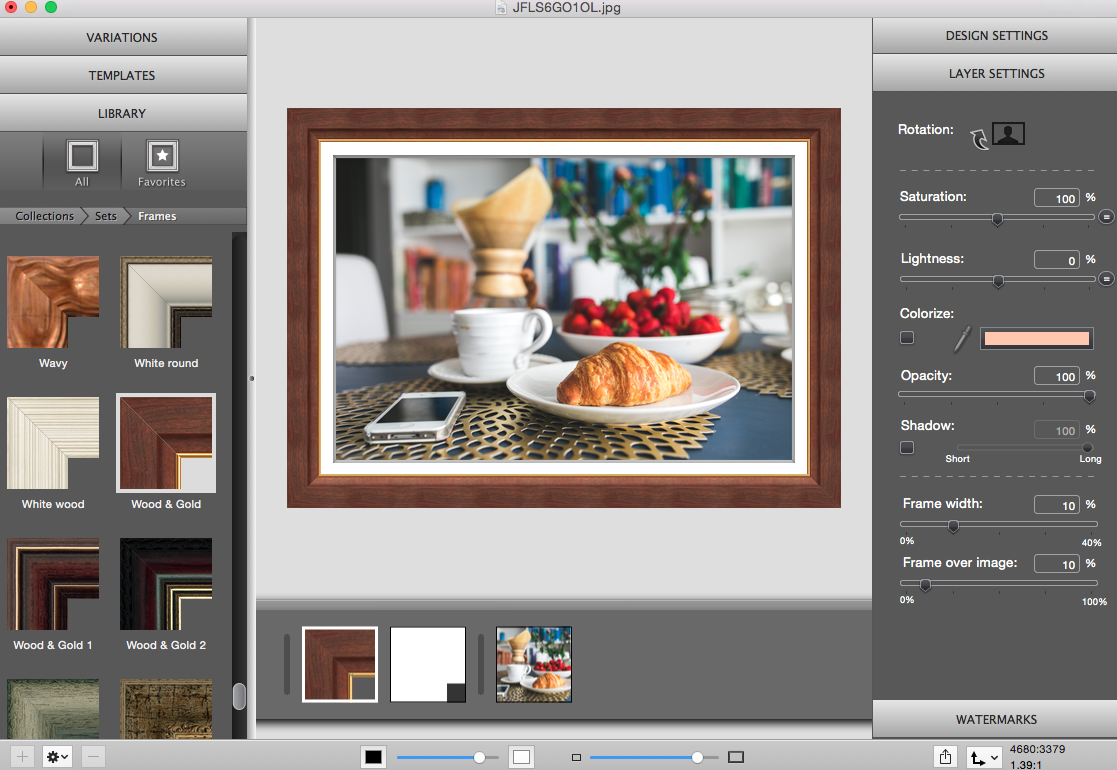
Now that we’ve made the whites in the photo stand out, it’s time to select a frame. Because this photo has some earthy colours in it from the croissant and the paper in the coffee Chemex in the background, I decided to go with a nice ‘Wood and Gold’ frame to balance it out.
Here’s what the finished product looks like:
So there’s one example, but what if we wanted to change things up a bit? Let’s focus instead on keeping things monochromatic.
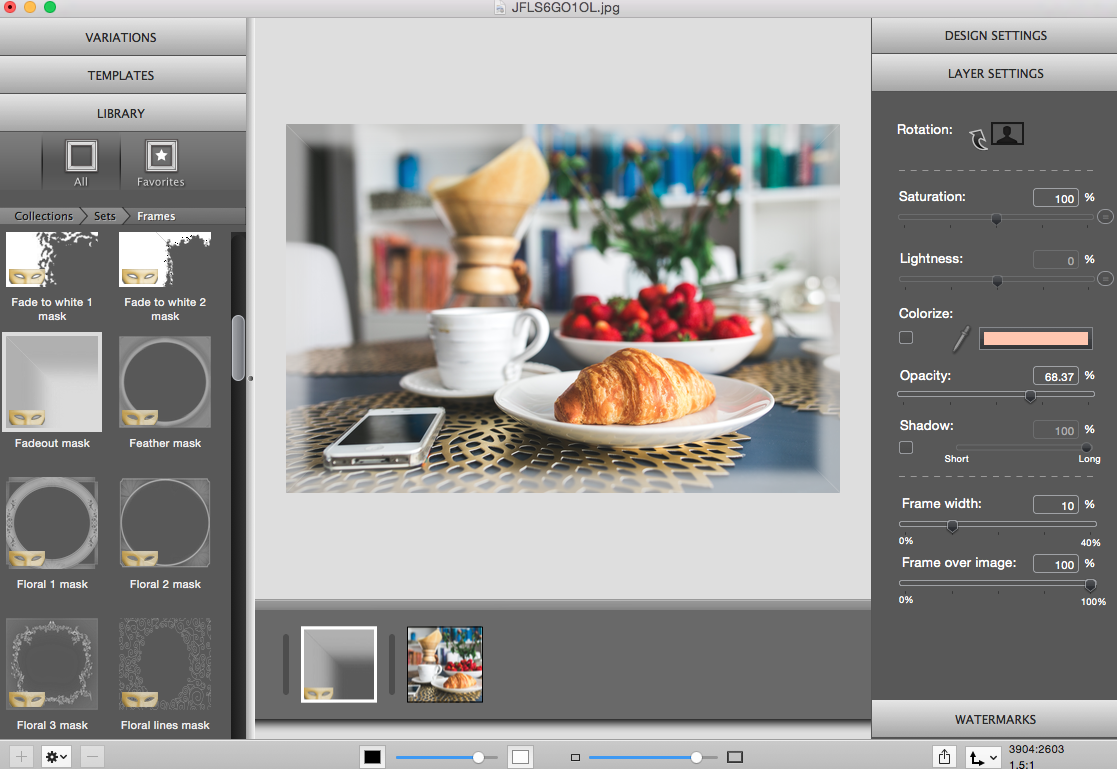
For this example, I started with my regular still-life photo and decided to add a Fadeout Mask to it; this softens the edges a bit and makes the photo look warmer. I’ve also changed the opacity to [opacity goes here] which softens the photo even more.
Next I’ve selected my frame. This time I decided to go with something a bit fancier, the Texture frame. I’ve chosen this frame because it’s a bit heavier, which balances out the mask I added earlier, and because the tight weave texture of the frame brings out the pattern in the placemats in the photo, which also have a ‘woven’ look to them.
Let’s see what I’ve come up with:
So far we’ve tried some pretty “safe” experiments – now let’s try something really crazy!
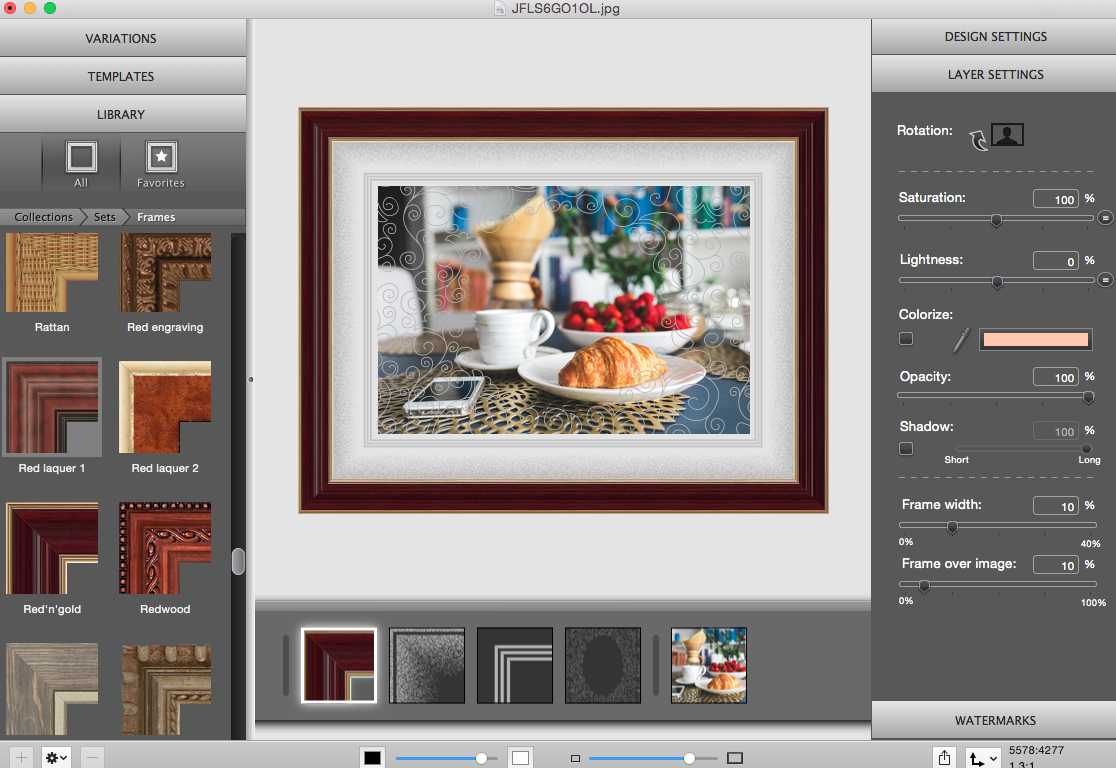
Starting with my original photo I’ve added the Floral Lines mask, which makes the photo look much more whimsical than a simple still-life photo. To balance out all the curly lines I’ve added the Ko mask and the Spray 2 mask, which create an interesting buffer around the original photo.
To finish this version I’ve selected a frame with a warmer, more reddish tone to bring out the strawberries in the centre of the photo. The Red ‘n’Gold frame does this nicely. By combining this simple frame with some fancier effects the photo takes on a totally different look and feel.
As we’ve seen, experimenting with ImageFramer’s options, you can show your customers the wide variety of ways that your photo can be framed, and how something as simple as the right mat or a frame in a different colour can add to the value of your still-life photo.
Now it’s your turn! Join our Facebook community and show us how you use ImageFramer to make your photos pop!
ImageFramer 4: Your art. Showcased.
Download the best-in-class Mac app for adding photorealistic frames and mats to photos and artwork today.