
ImageFramer is a fantastic app that allows you to add frames, mats, and borders to your art with the click of a button. This macOS app offers more than 1,000 framing assets so the combination of looks is nearly endless. Although there is no shortage of frames, the Frame Editor feature allows you to upload your own creation so you can build an entire library of custom frames. The custom frames can be created with any graphics or drawing software as long as the finished artwork is exported as a transparent PNG or PDF. In this article, we will learn how to create a frame for ImageFramer using iPad drawing apps.
iPad Drawing Apps
Drawing software on the iPad has become wildly popular due to the Apple Pencil which provides sensitivity levels that mimic real-life drawing and painting. Because of this popularity, there are now several drawing apps to choose from. We’re going to list a few of our favorites that are great for both amateurs and pros.
- Adobe Illustrator (Paid)
- Procreate (Paid)
- Affinity Designer (Paid)
- iArtbook – Digital Painting (Free)
- Linea Sketch (Free)
- SketchBook (Free)
Procreate
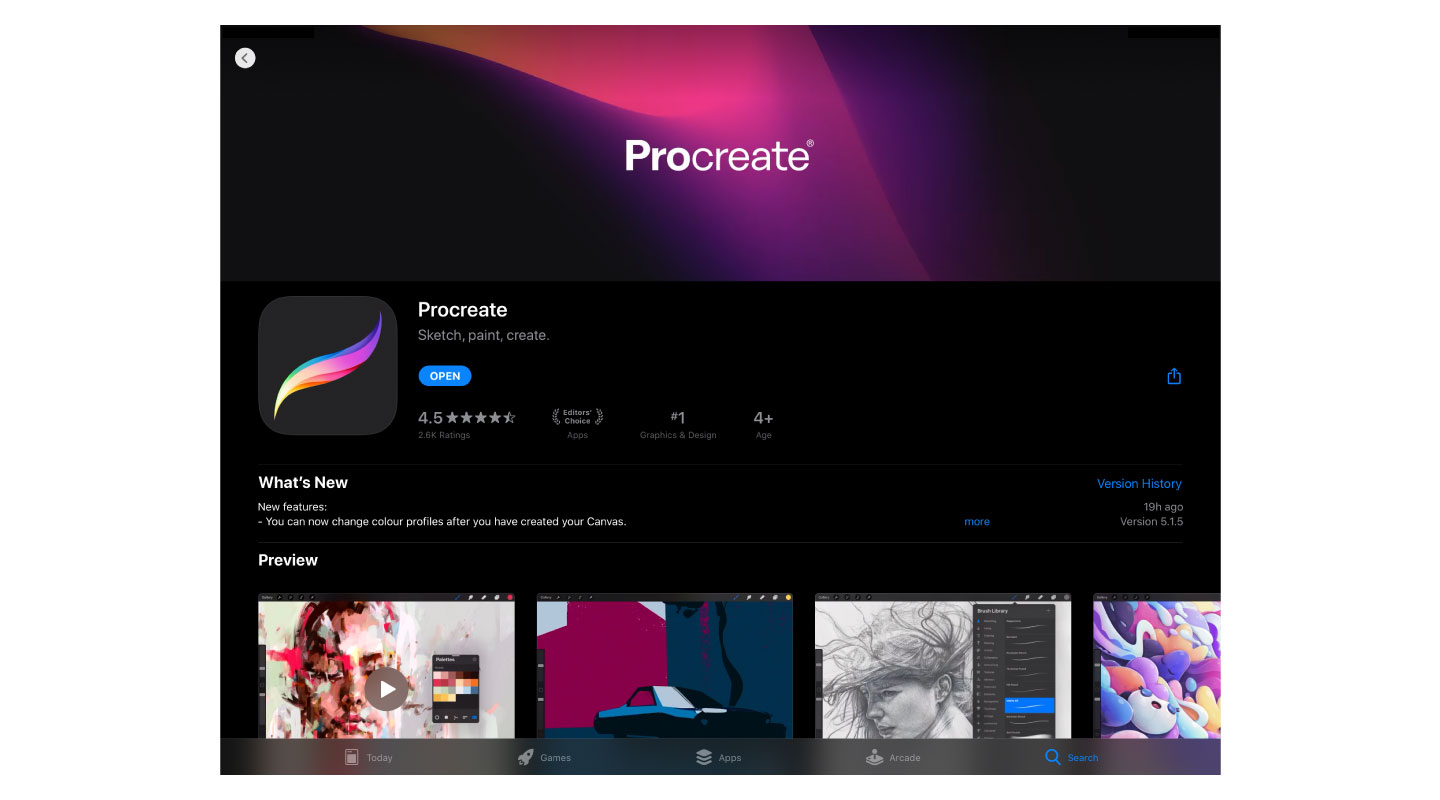
If you’re willing to spend money on a drawing app for the iPad, you cannot go wrong with our selection of paid apps. Procreate is probably the most powerful and diverse drawing app you can get on the iPad. Many professionals use Procreate but the app is also great for beginners who are new to drawing software. Procreate offers a huge range of features that includes over 200 artistic brushes, digital effects, massive canvas sizes, and full font control.
iArtbook
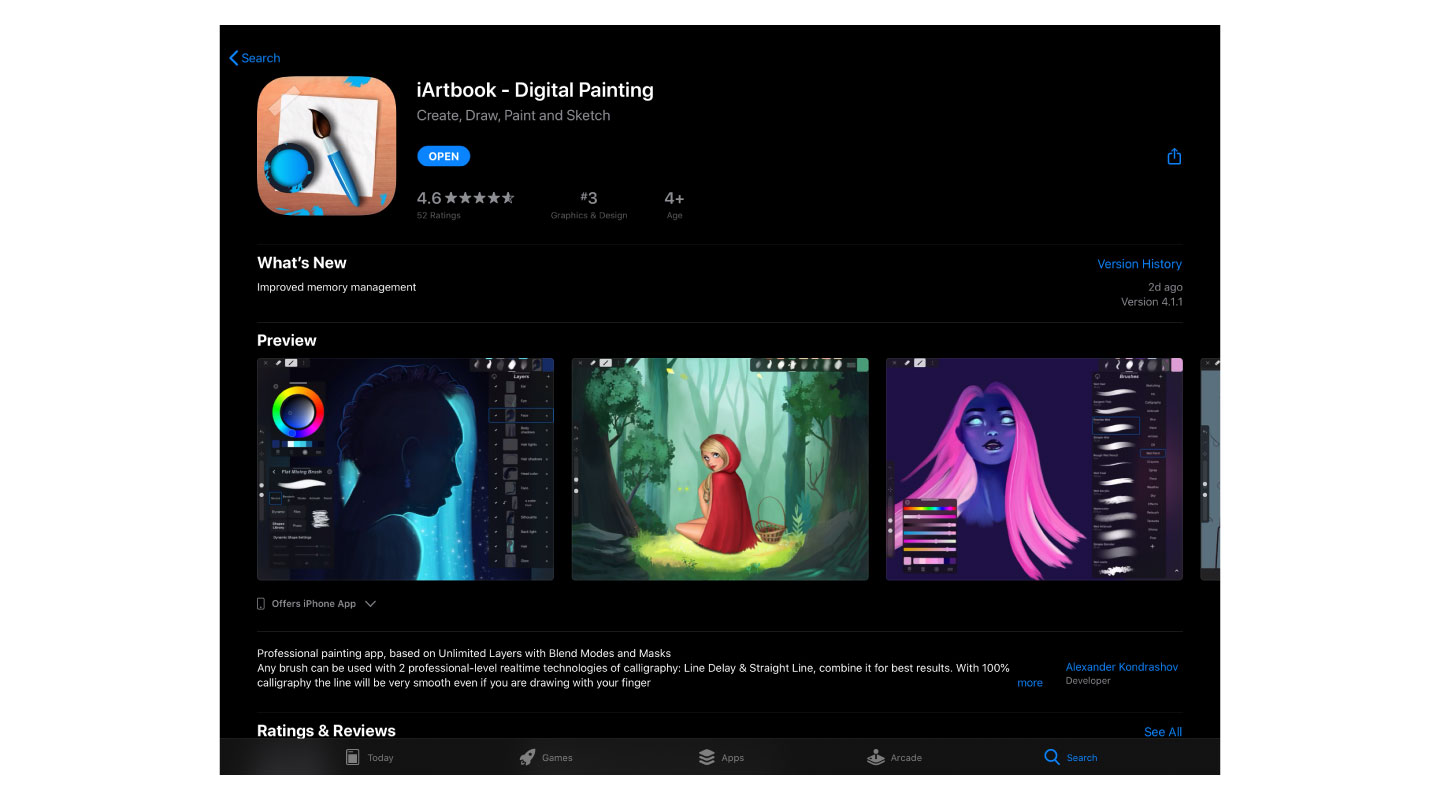
For those who prefer to use a free app, iArtbook – Digital Painting is an incredible alternative to Procreate. iArtbook is very powerful and super easy to learn. The app is perfect for all skill levels and the Apple Pencil integration is amazing. iArtbook offers an enormous library of brushes and you can also create your own brushes of any type. To be honest, we have not found a free drawing app that holds up in comparison to iArtbook. For this reason, we will use iArtbook to create a frame for our ImageFramer library.
Create a new image in iArtbook
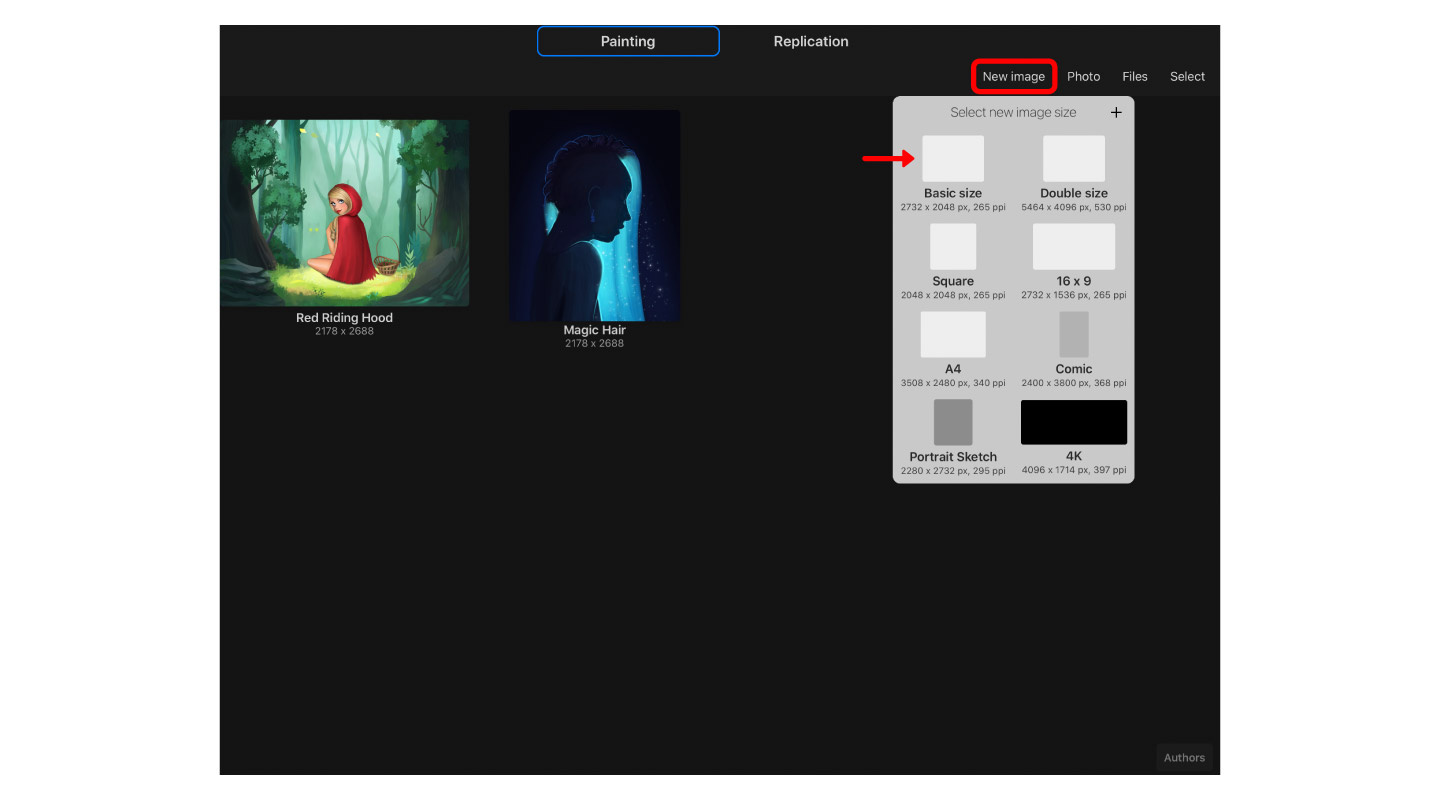
After you have downloaded iArtbook in the App Store, open the app and select New image in the top right. In the dialog box, choose the Basic size option or use a canvas that has an aspect ratio of 4:3.* In this tutorial, we are going to create a full frame for landscape orientation. If you wish to create a frame for portrait, create a canvas that has an aspect ratio of 3:4 (2048 x 2732 px).
*We suggest an aspect ratio of 4:3 or 3:4 because frames look best in ImageFramer this way.
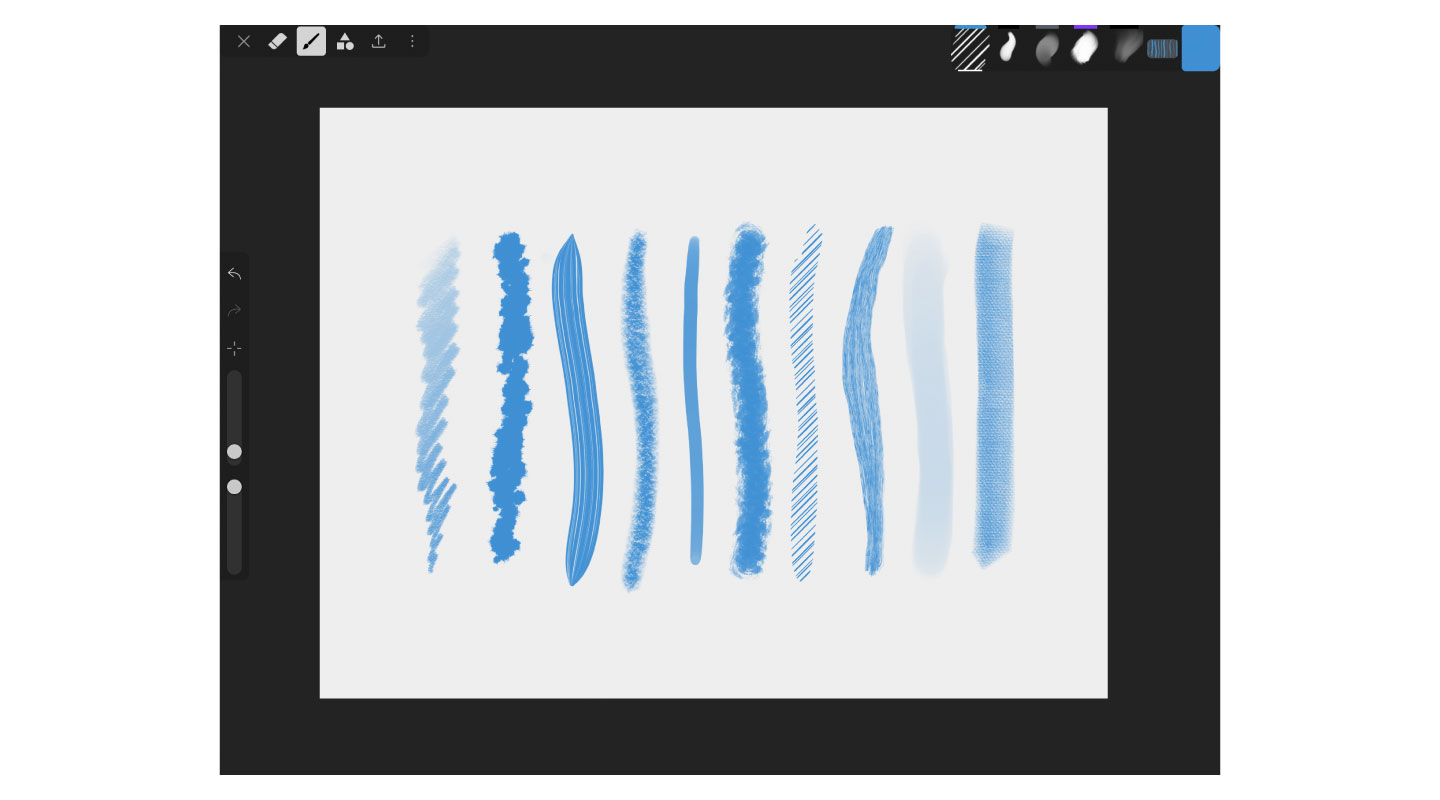
Get creative
Start drawing and color that canvas! iArtbook carries hundreds of different brushes so you’re free to create anything you want. If you would like some inspiration, use the ImageFramer app or have a look at the ImageFramer Frame Library here.
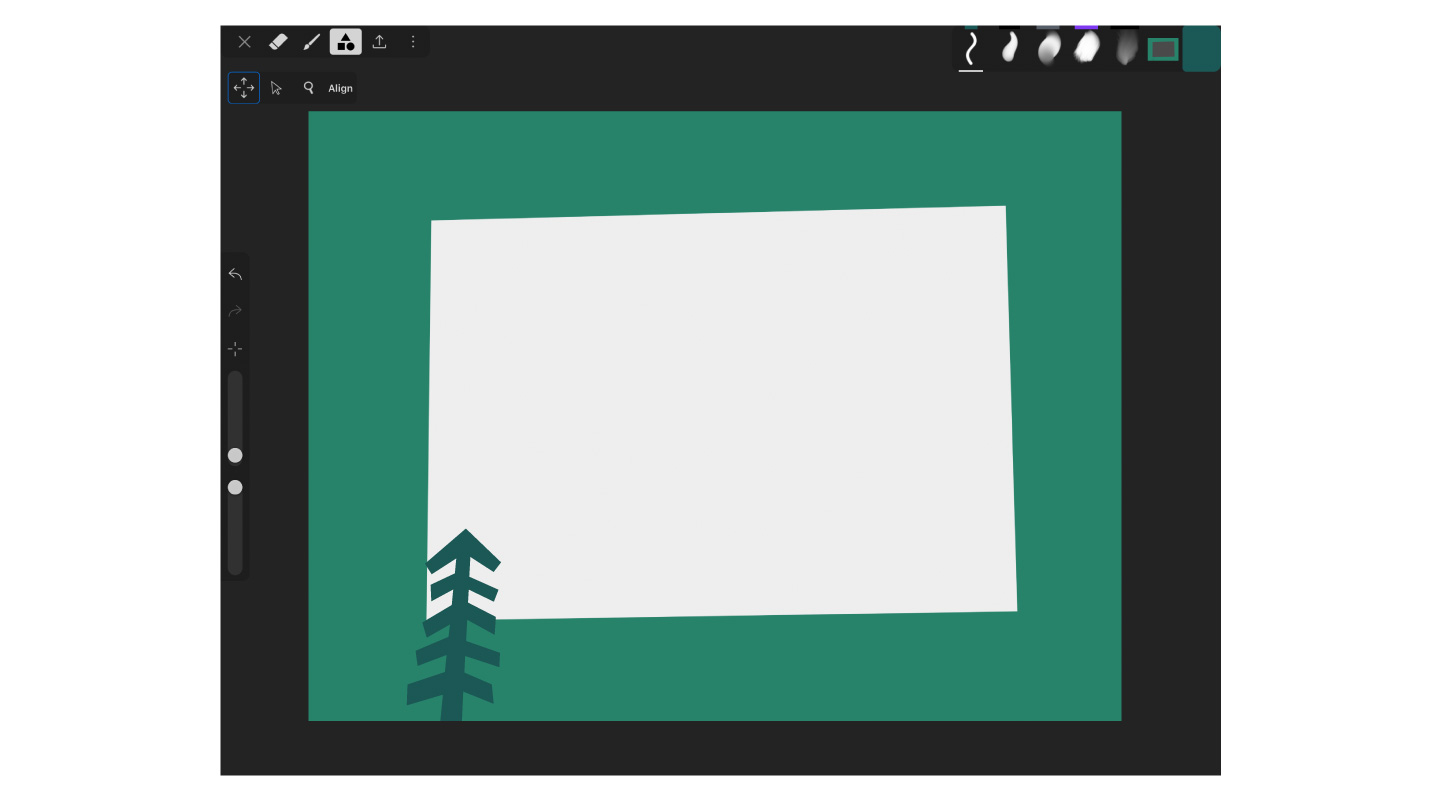
Create your frame
Once you get the hang of things, create your frame and make sure to leave part of your canvas blank so that your image can shine through.
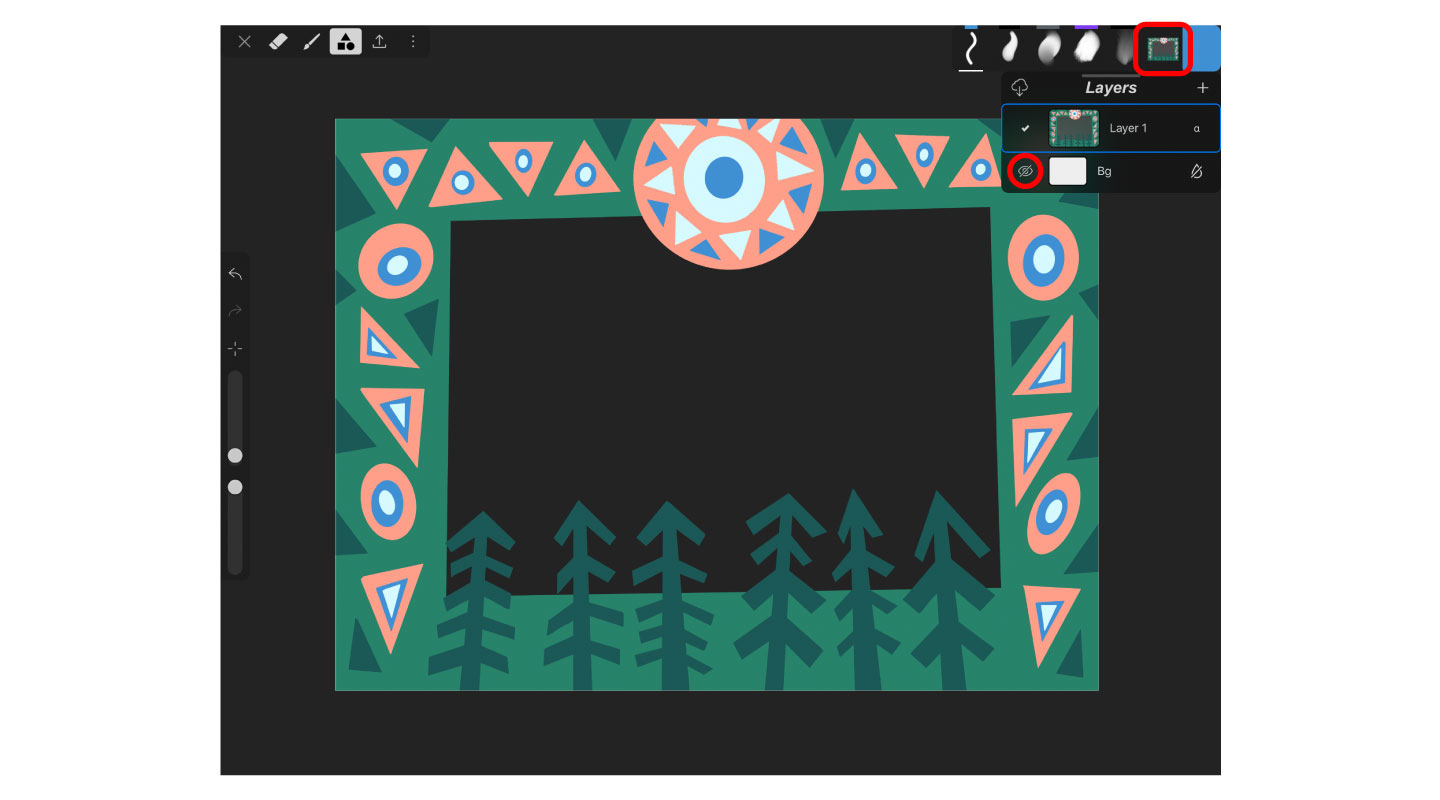
Hide the background layer
After you finalize your artwork, open the layers panel by selecting your artboard in the top right. In the layers panel, tap the checkmark beside the background layer in order to hide it, as shown above.
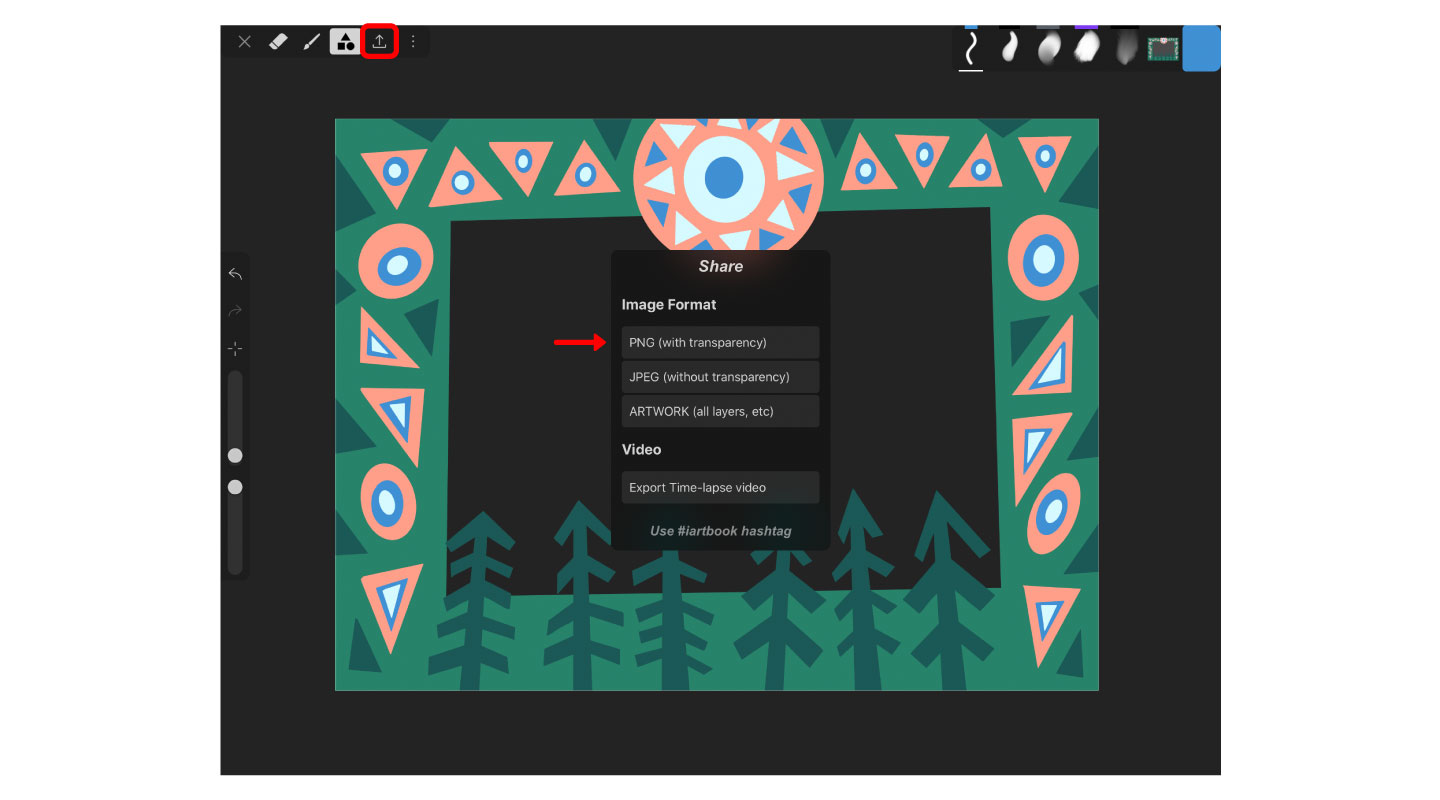
Export your artwork
Once you’re happy with your frame and the background layer has been hidden, go ahead and export your artwork by tapping the share icon in the top left. (Don’t see this? Tap the three vertical dots and you’ll find Share in this menu.) Choose PNG (with transparency) so that your photo can be seen beneath the frame when you add it to ImageFramer. After exporting, send your frame design to your Mac through AirDrop, Messages, email, or save it to iCloud.
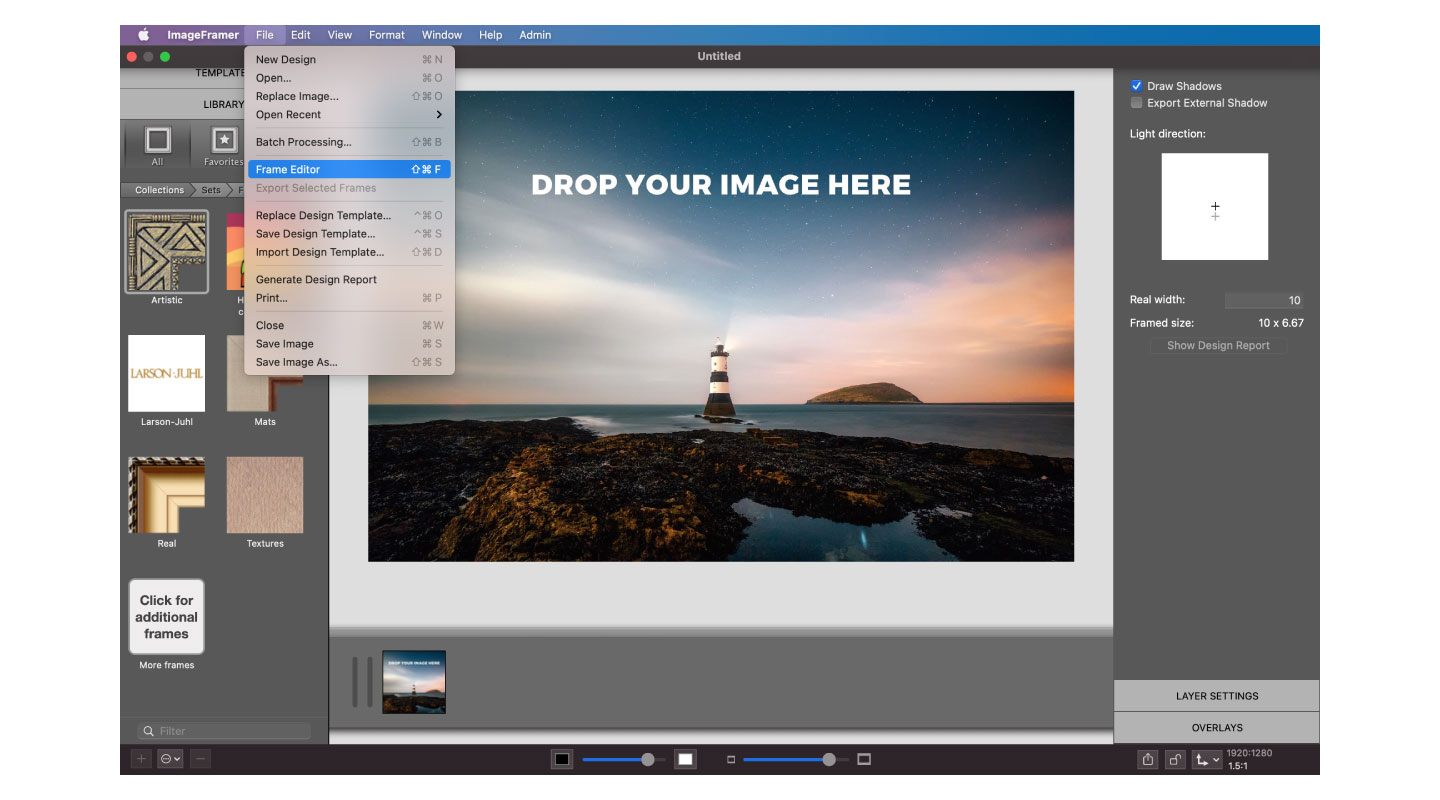
Open the Frame Editor in ImageFramer
Now that you have your frame design, move to your Mac and open ImageFramer. Open the Frame Editor by clicking File > Frame Editor.
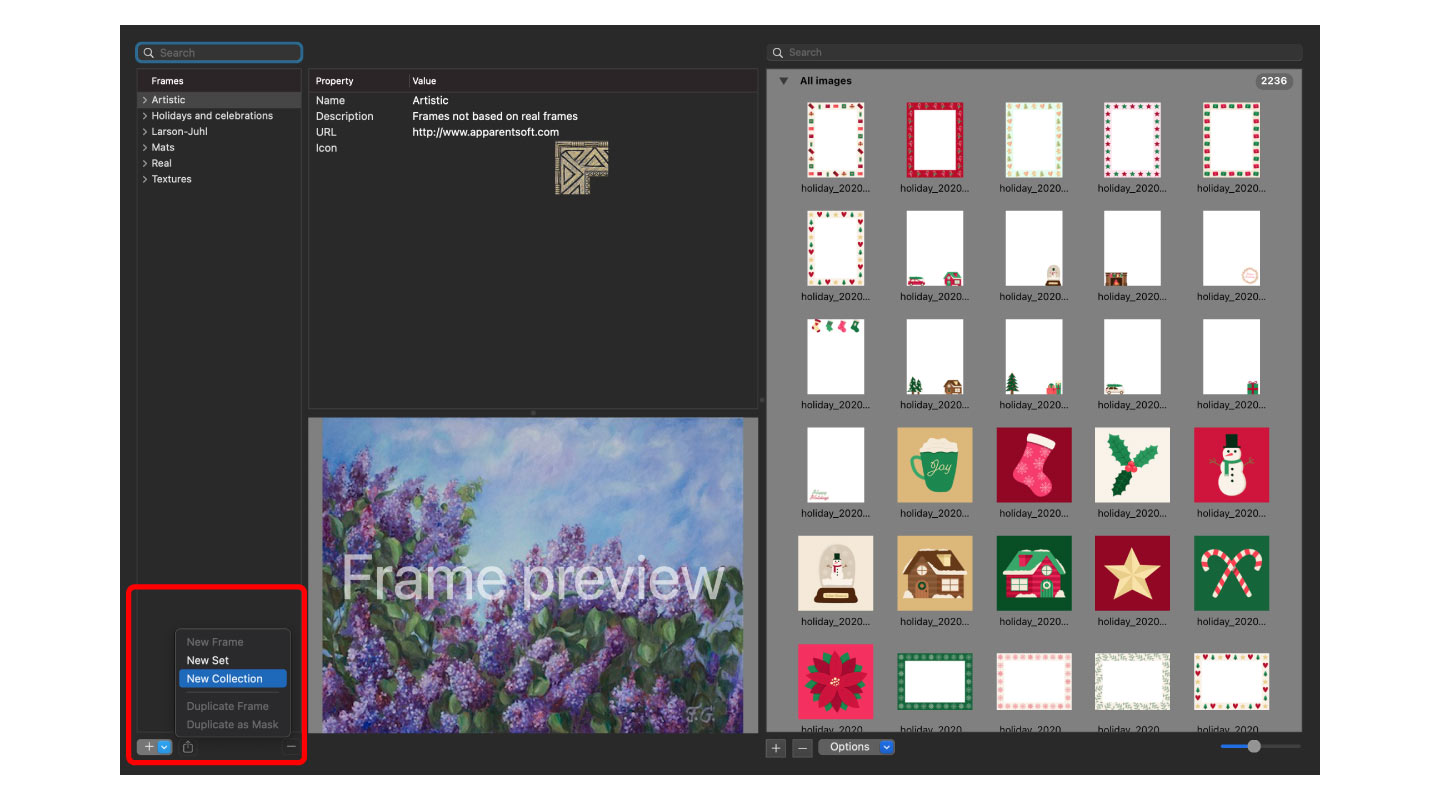
Add a new collection and set
Add a new frame collection to keep your custom frames in one place. Navigate to the bottom left, click the drop-down menu, and select New Collection. Repeat this process twice more and select New Set and then New Frame.
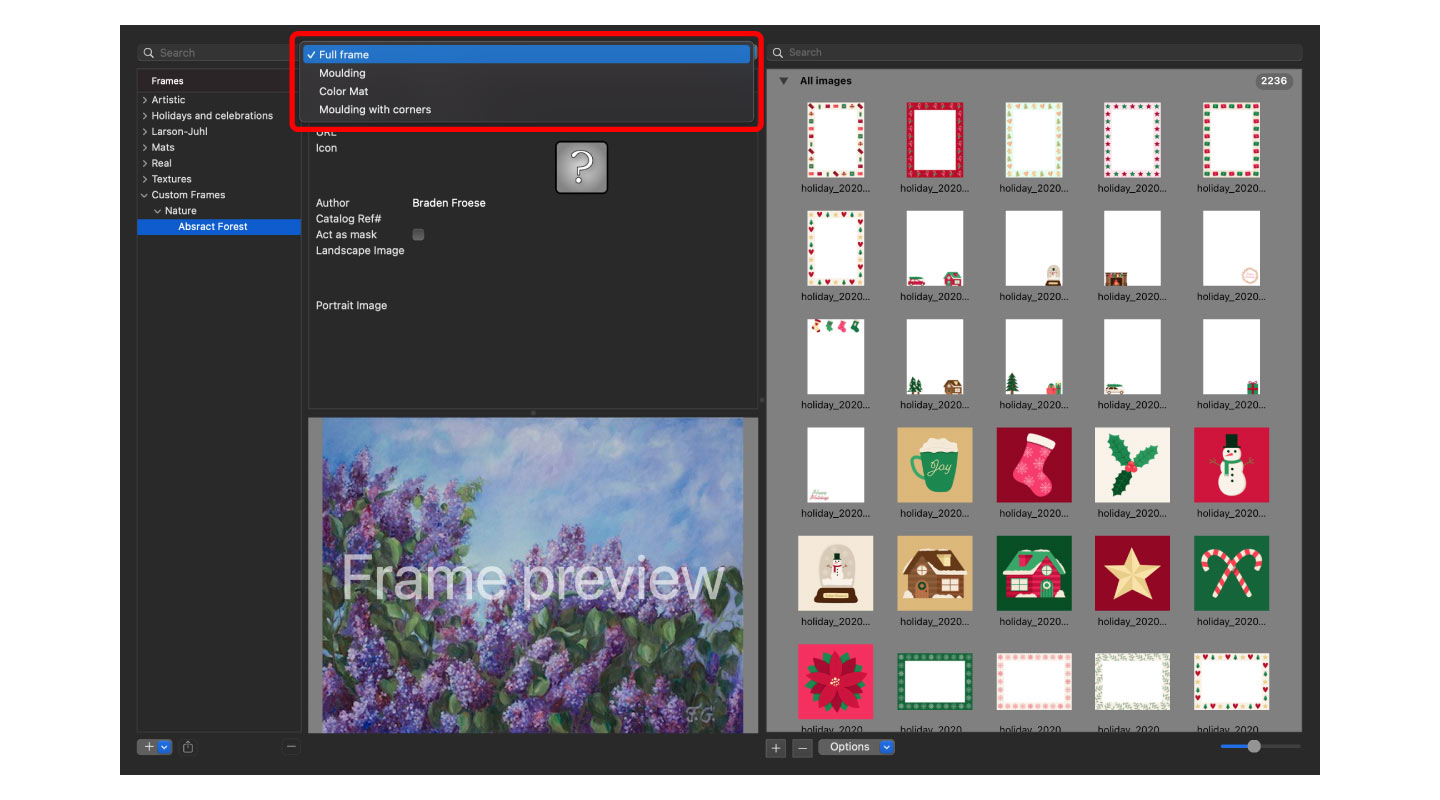
Choose your frame type
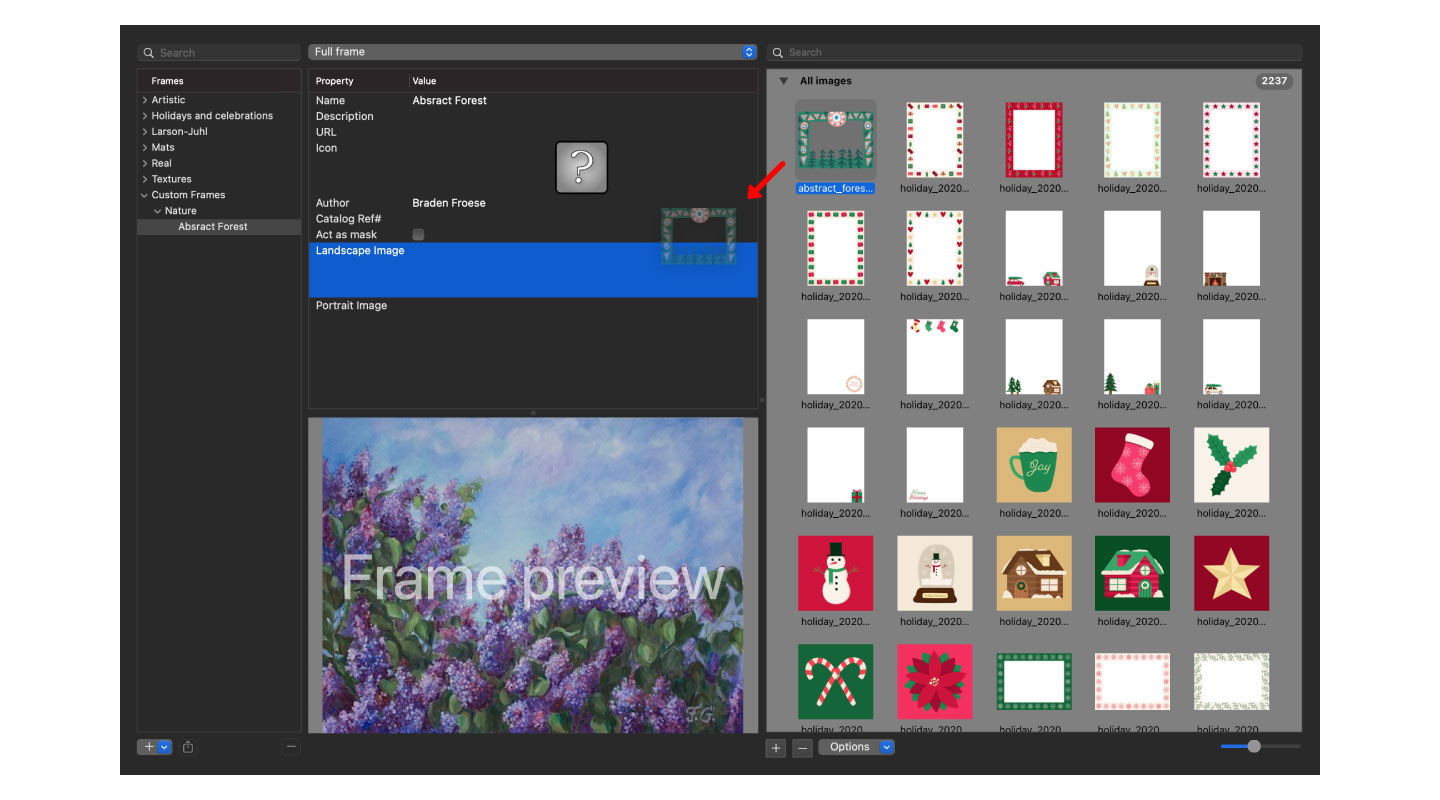
After you create a new frame, you can choose a frame type by clicking the menu at the top of the Frame Properties panel. For this tutorial, select Full frame in order to achieve the best outcome.
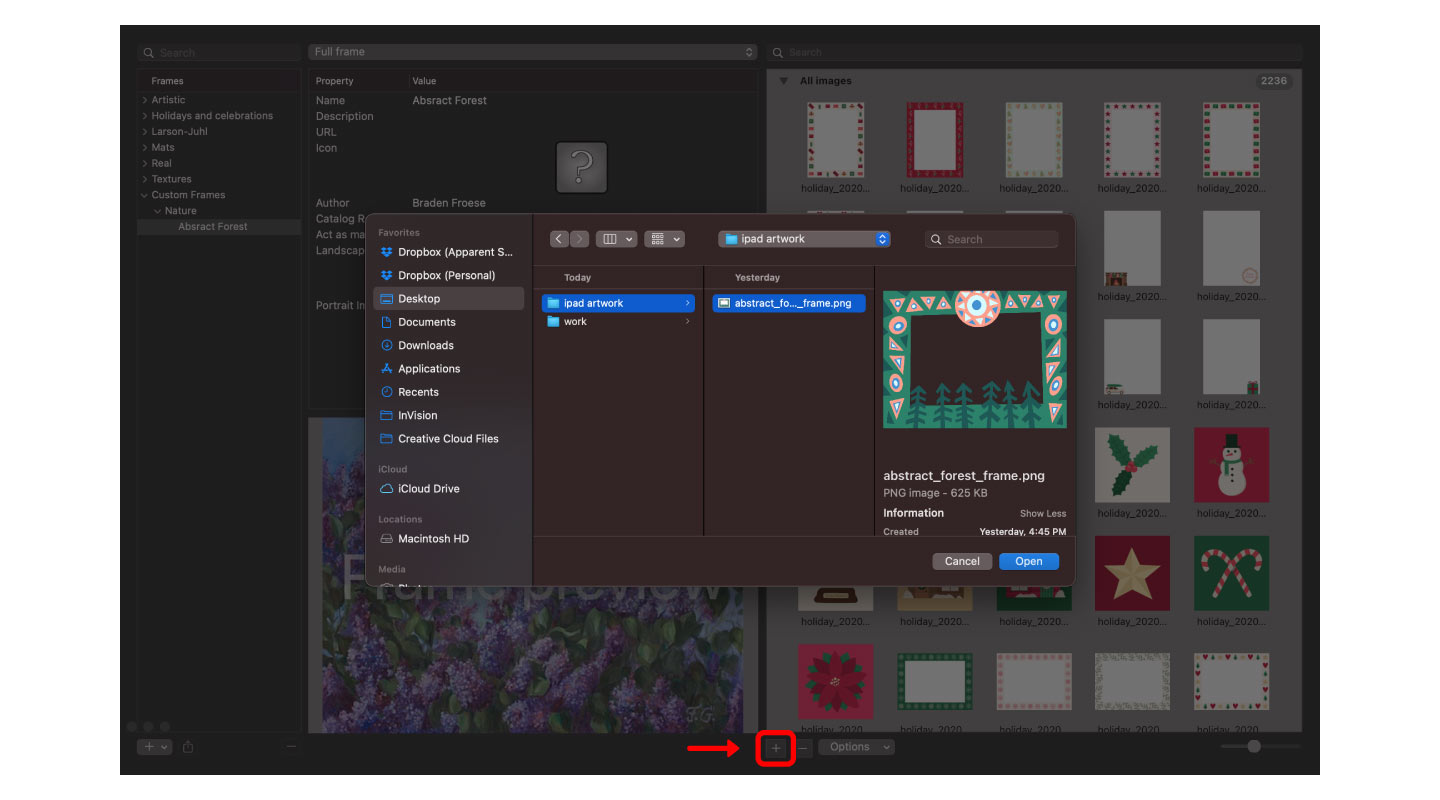
Import your frame design
Import the frame design that you created earlier by clicking the + icon below the ImageFramer Library. In the dialog box, navigate to the location of your frame and click Open to upload your design.
Drag and drop your frame
Drag your design from the Image Library and drop it in Landscape Image to complete your frame!
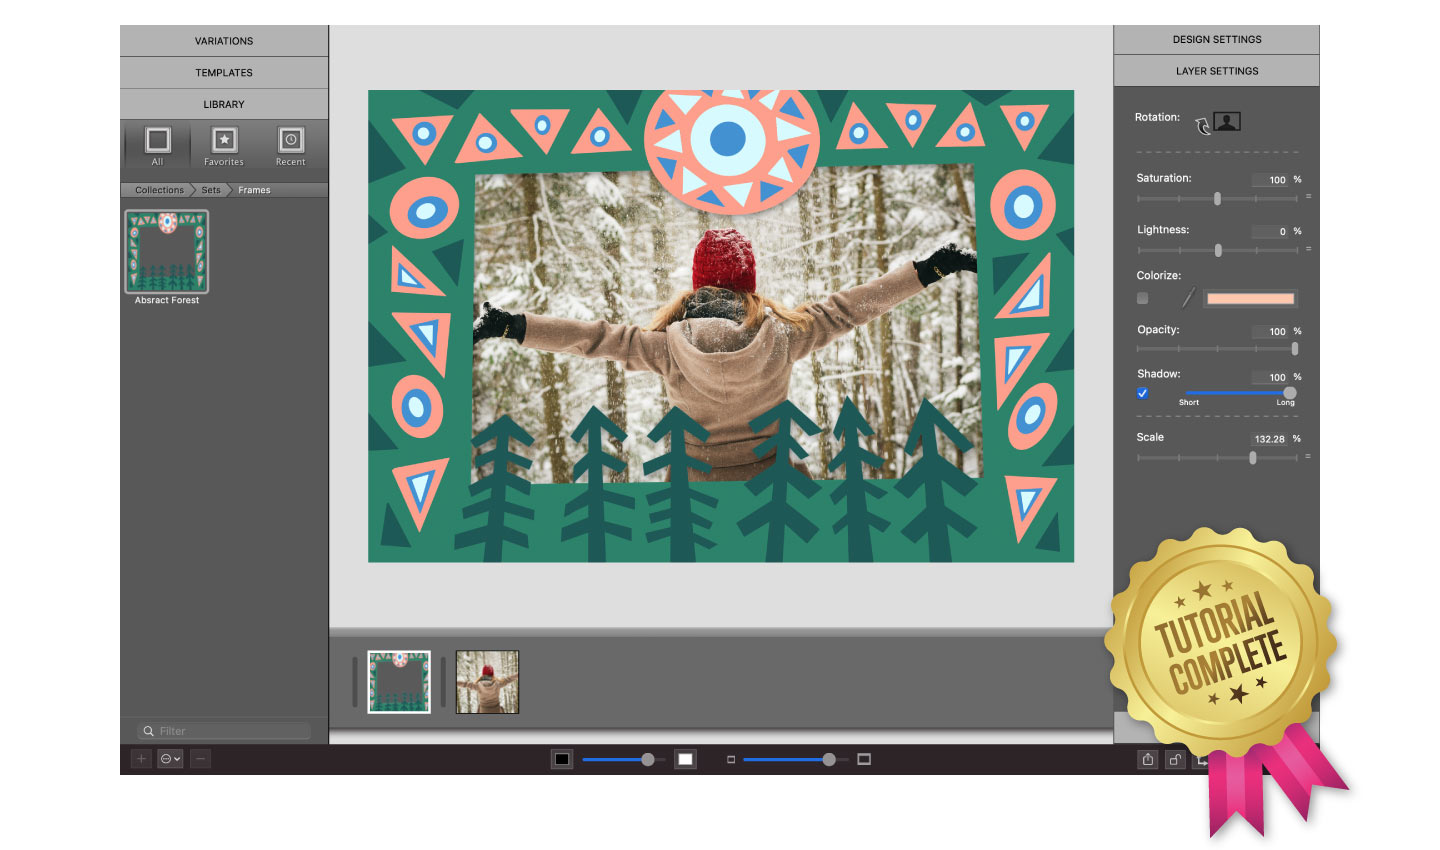
Use your custom frame
Finally, exit the Frame Editor and find your frame under the new collection and set you created. This process will become much faster once you create more frames. We cannot wait for you to start creating!
Check out a time-lapse video of our frame design exported from iArtbook.
ImageFramer 4: Your art. Showcased.
Download the best-in-class Mac app for adding photorealistic frames and mats to photos and artwork today.