
Did you know that you can create personalized greeting cards with ImageFramer? ImageFramer frame sets like Christmas and Mother’s Day feature paper textures and text lines. If you have textures of your own, you can use them as backgrounds to create heartwarming cards for your friends and family.
In this blog post, you will learn how to create custom textures for personalized cards in ImageFramer.

Find a texture
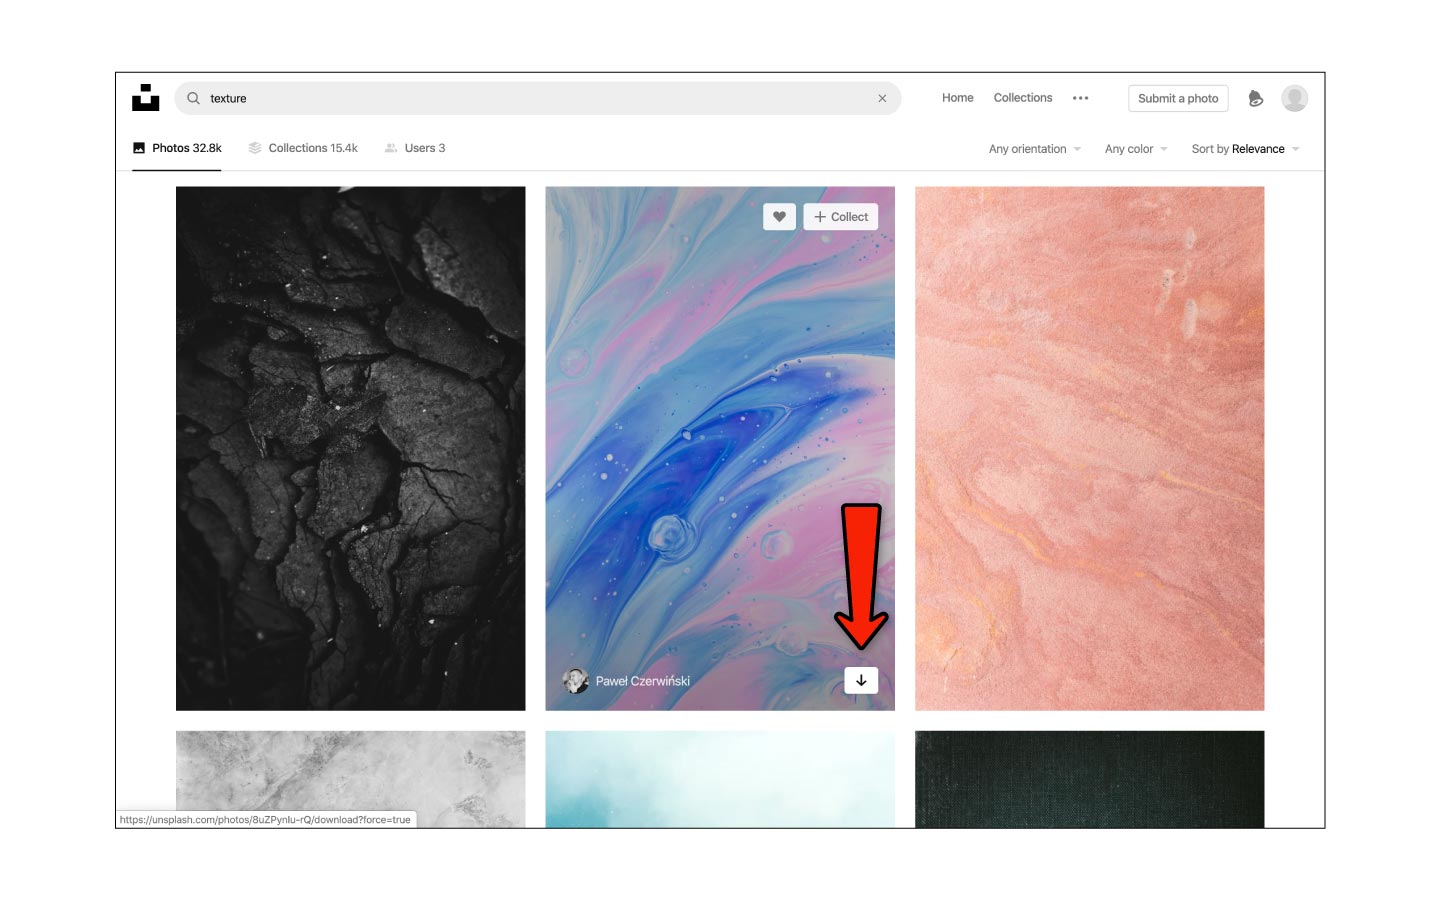
Textures can set the tone of your entire design, so try to pick one that relates to your card’s message. Textures can be found anywhere you look. Get creative and take some pictures! If you don’t have a camera, you can use websites like Unsplash and Pixabay. In this tutorial, we will use Unsplash to find a texture we like.
Download your texture
Once you find a texture, download the file by clicking the arrow in the bottom right corner of the image.
Open the Frame Editor in ImageFramer
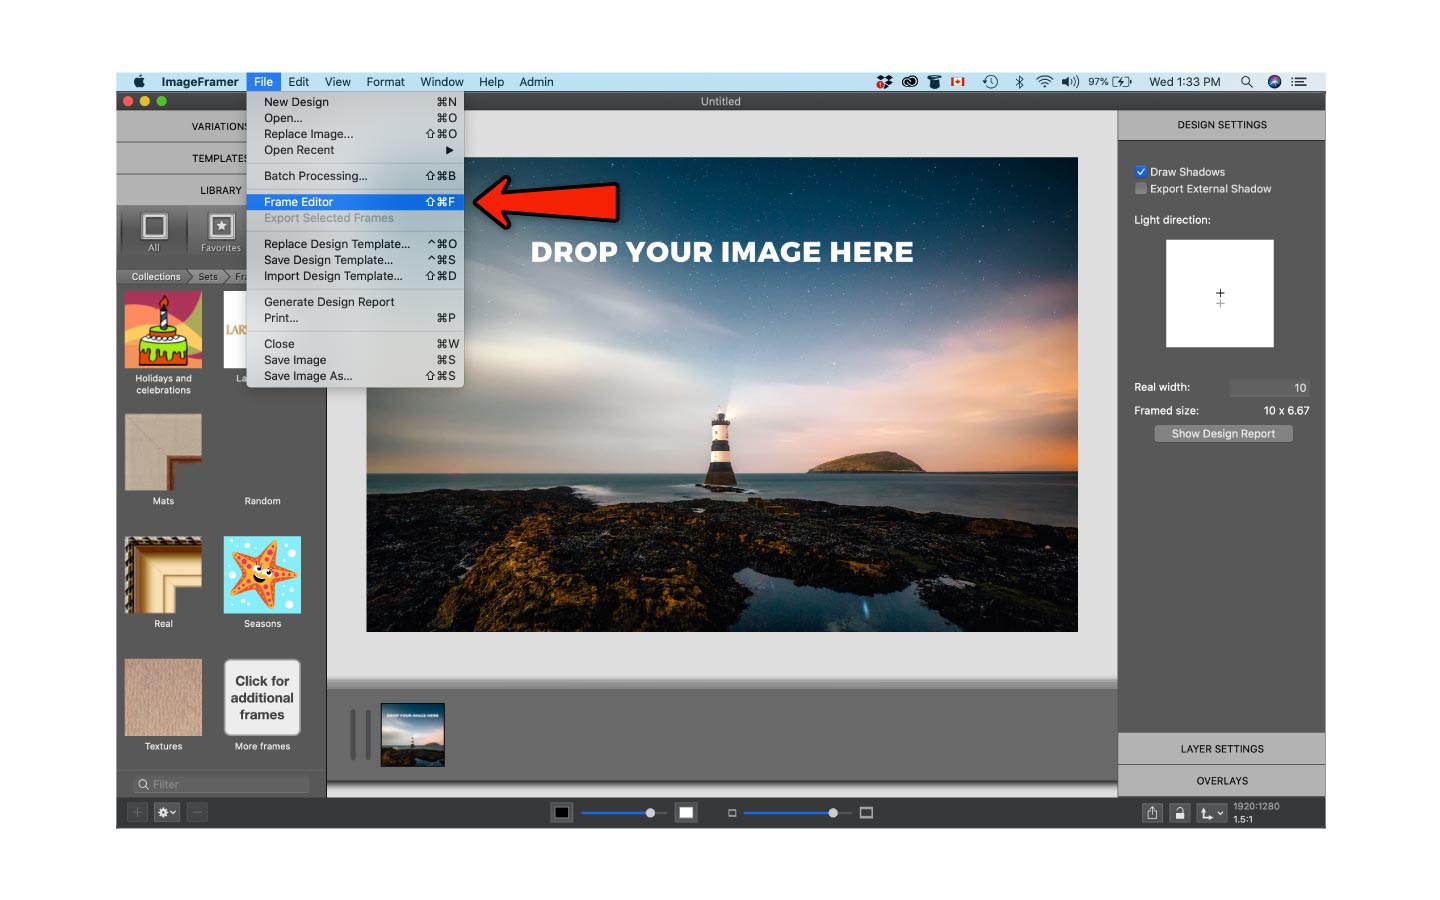
Open ImageFramer and choose Frame Editor from the File menu. In order to use your texture, you will have to create a new frame that acts as a background.
Create a new frame for your texture
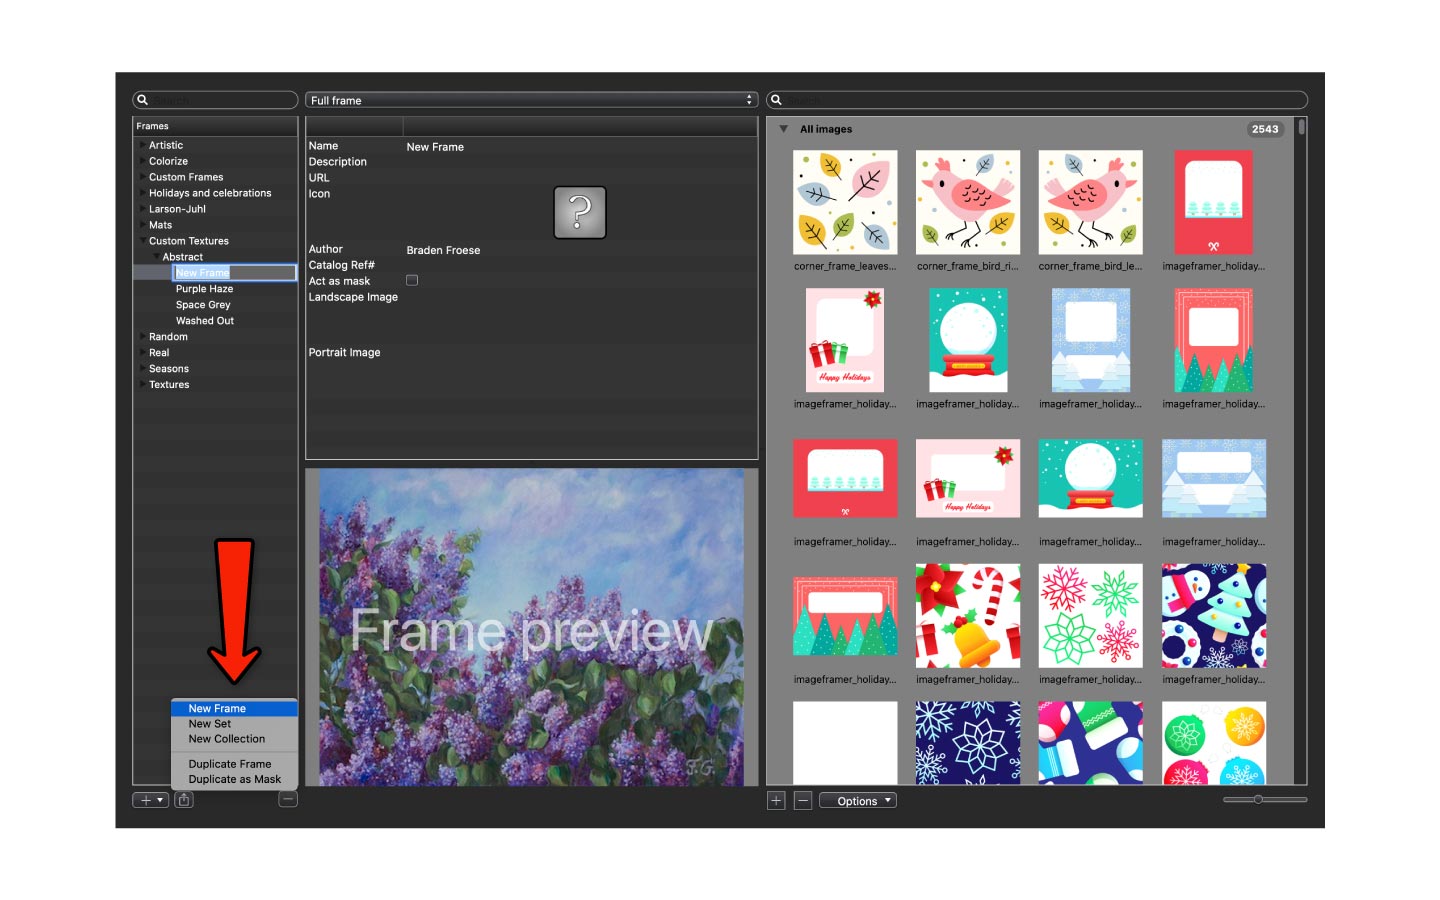
Create a new frame by clicking the drop-down menu on the bottom left. You can create a new frame in an existing set or you can create an entirely new set.
Import your texture
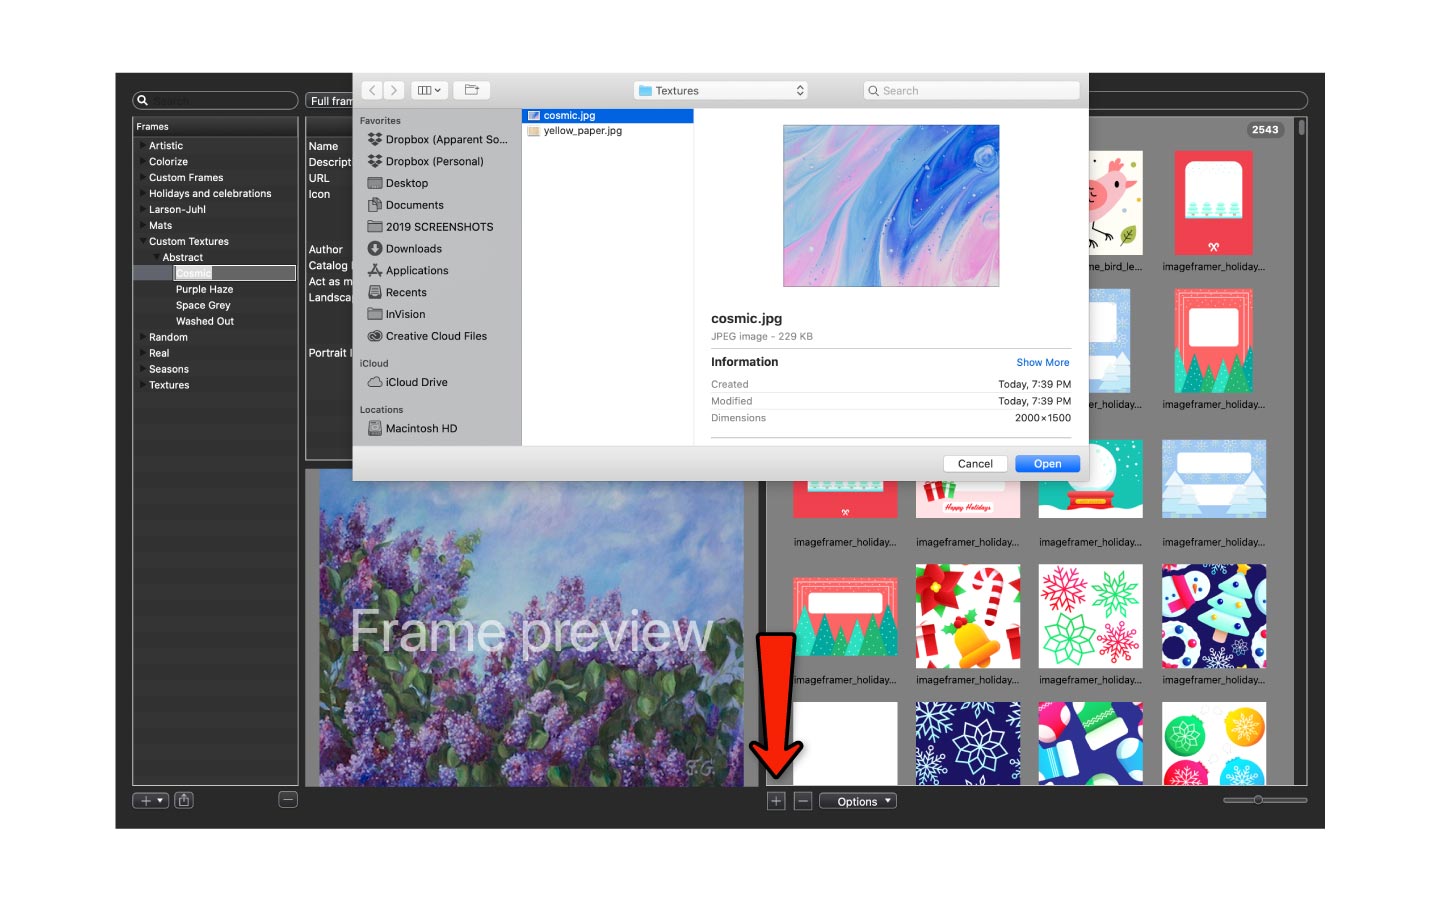
In Frame Editor, import the texture you downloaded. Click the “+” icon under the image library on the right side of the Frame Editor and upload your texture.
Place your texture
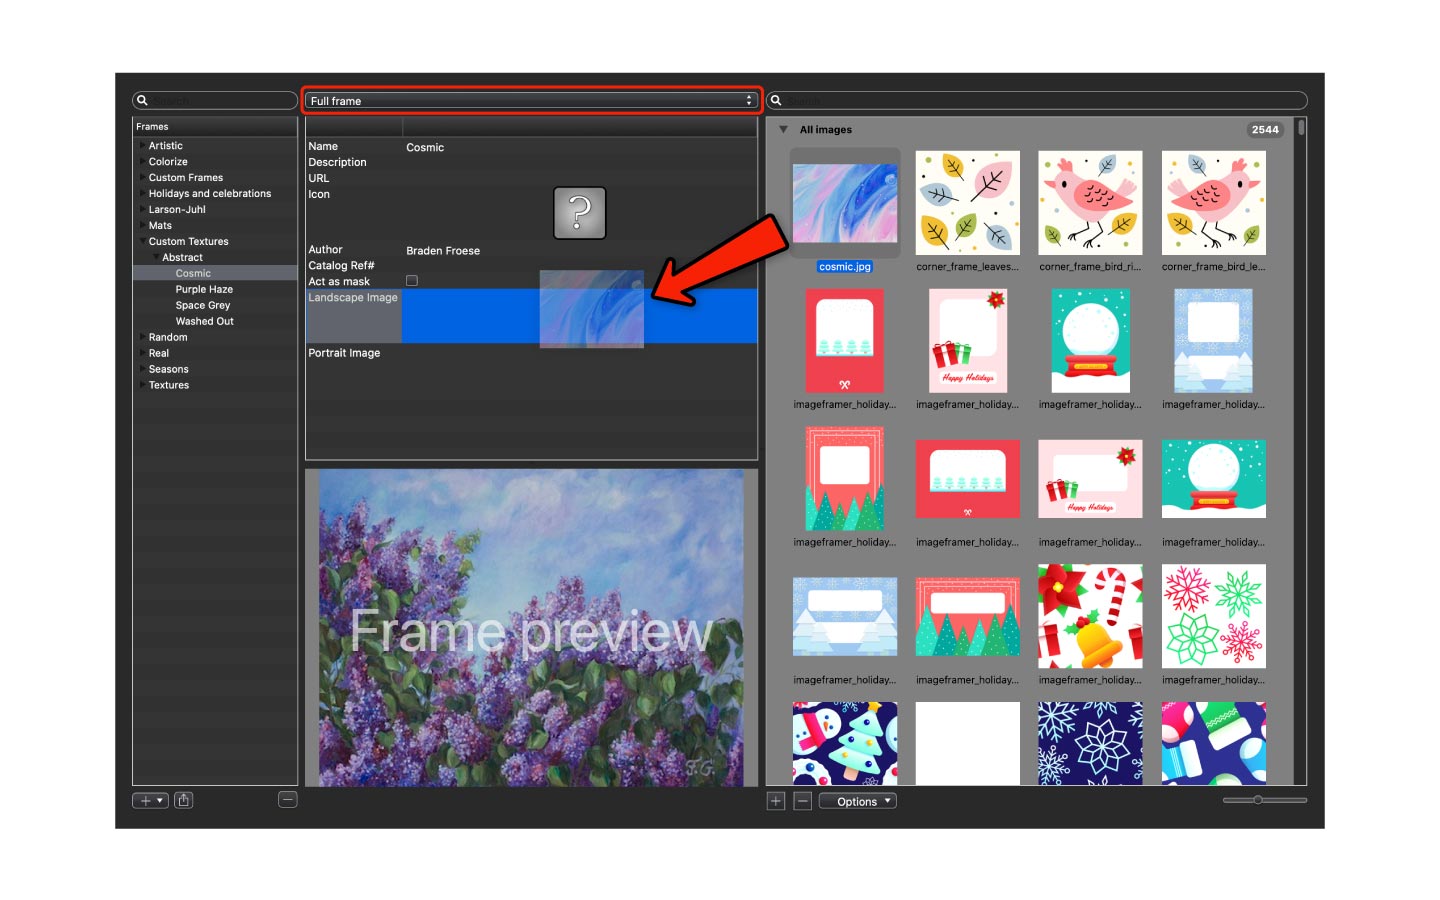
Drag and drop your texture into the section that says “Landscape Image“. Make sure that the “Full frame” option is selected in the frame properties panel menu.
Use your texture!
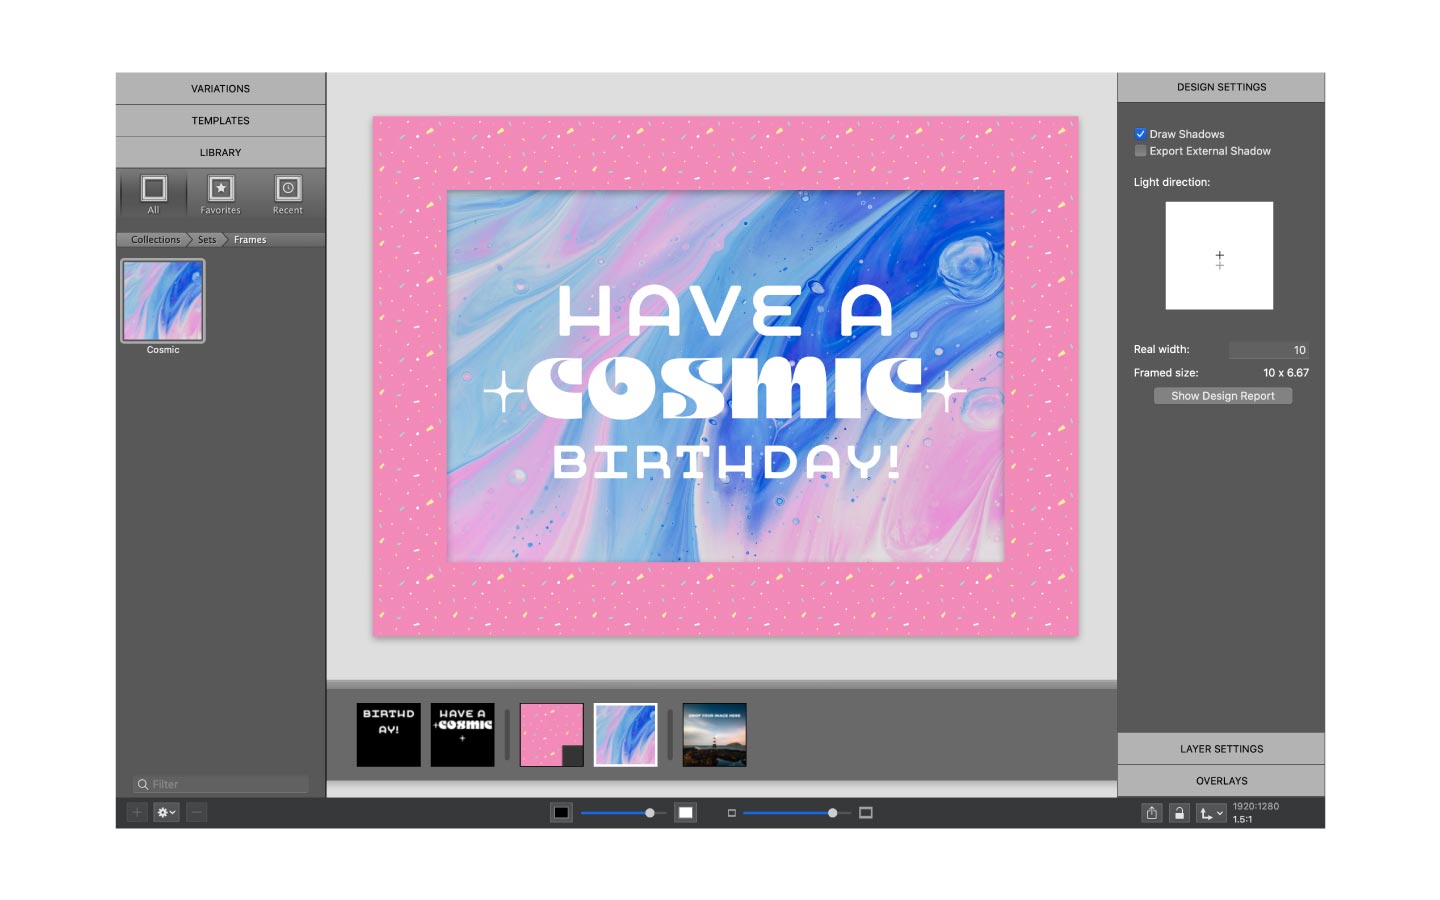
Exit the Frame Editor window and try out your new texture. You can find your texture inside the frame set where you created it.
ImageFramer 4: Your art. Showcased.
Download the best-in-class Mac app for adding photorealistic frames and mats to photos and artwork today.