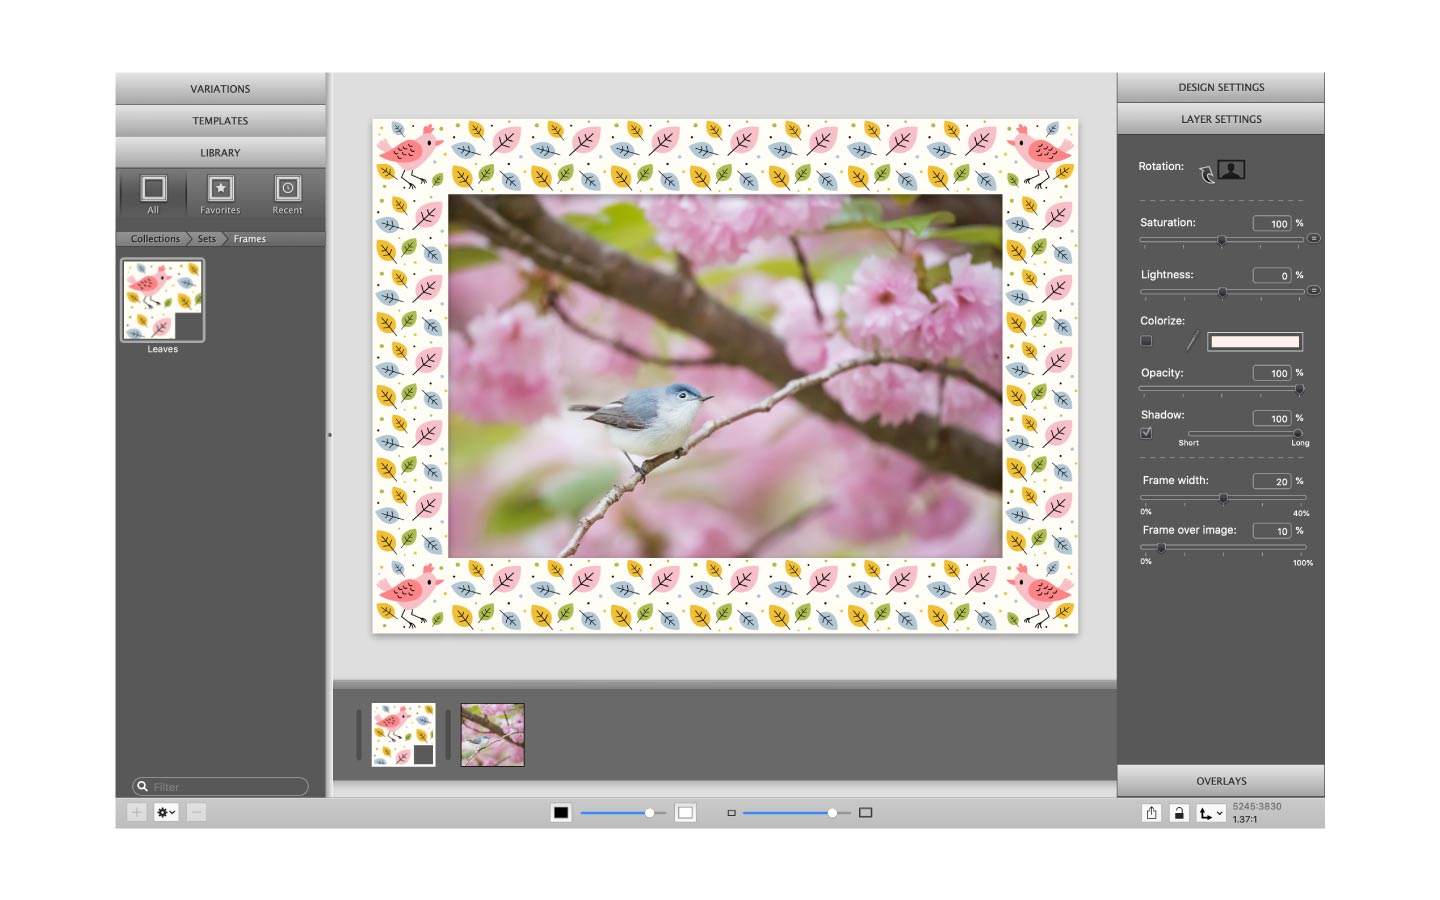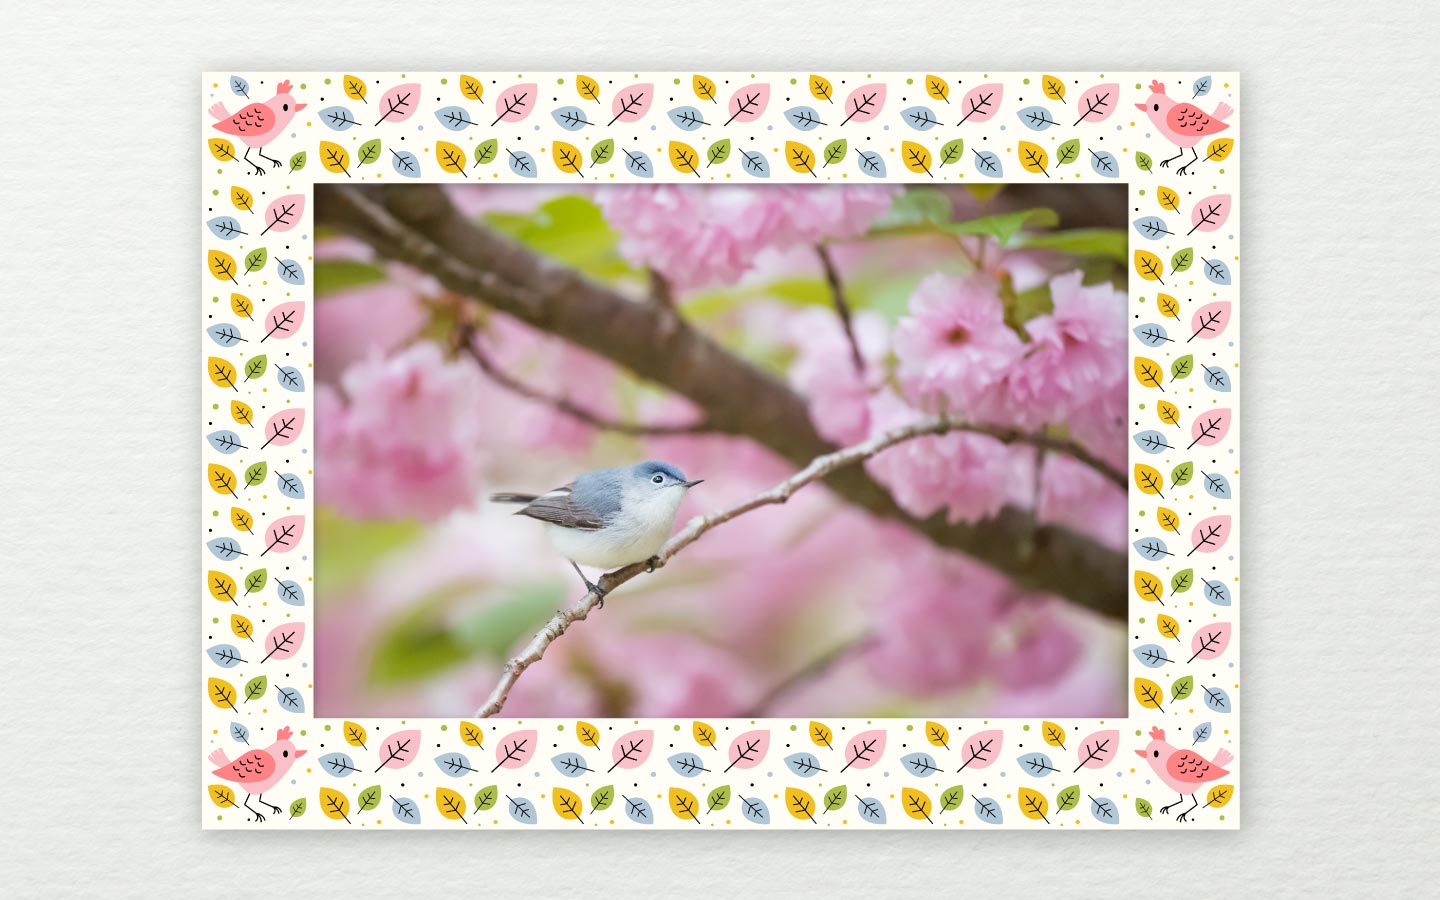
ImageFramer has a fantastic Frame Editor feature that lets you create custom frames! The Frame Editor has four main types of frames: Color mat, Moulding with corners, Full frames, and moulding.
In this blog post, you will learn how to create a Moulding with corners frame with ImageFramer. 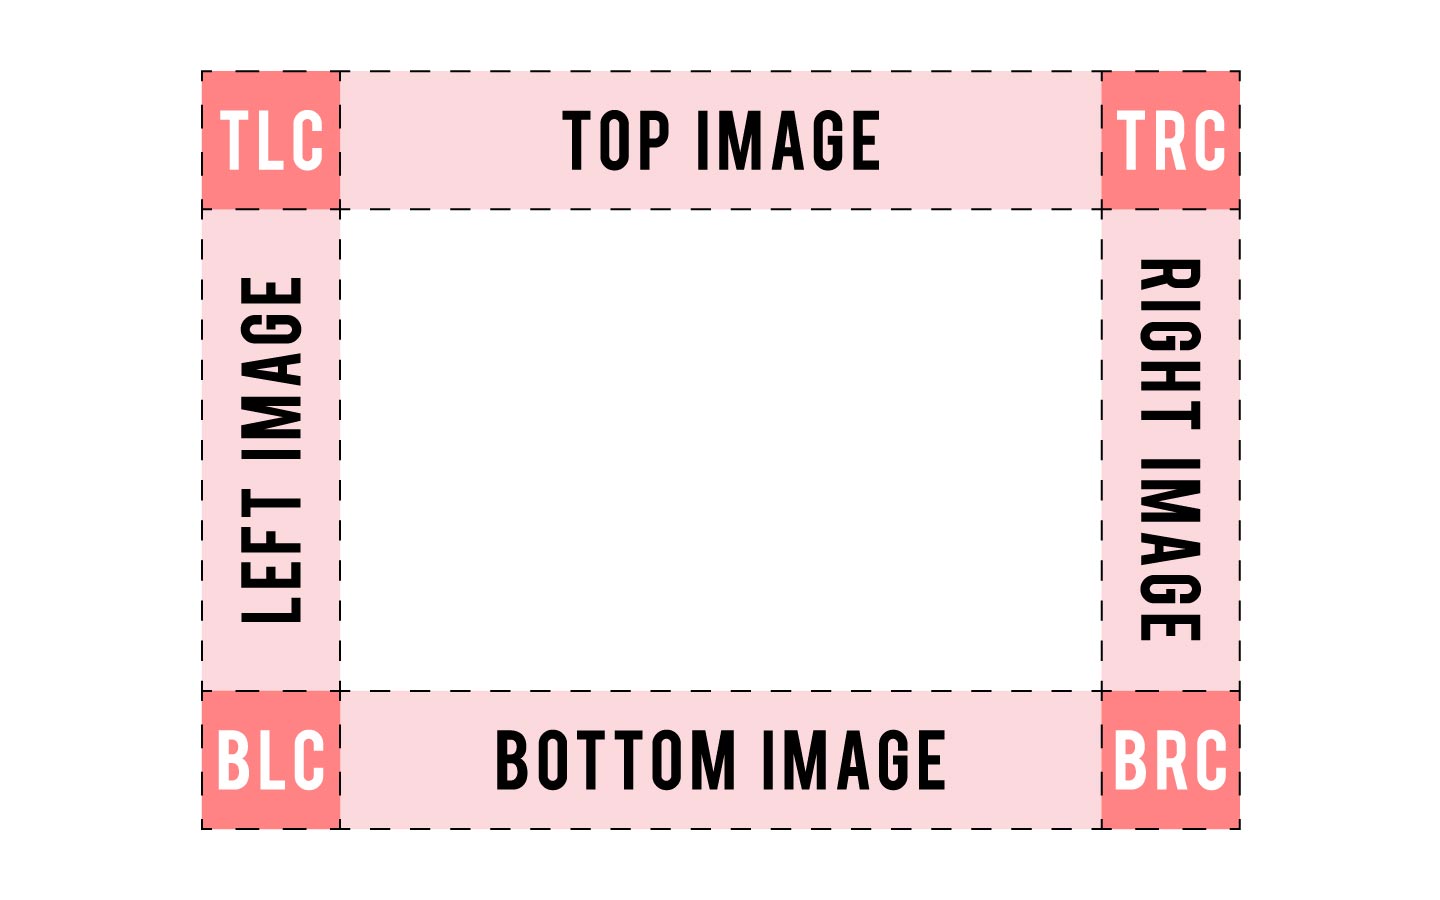
Conceptualize your frame design
The Molding with corners frame is unique because you can create a single frame using several different square images. This means that you should create your images using a square format. There are eight different sections where you can use a custom square graphic of your own. The 8 sections include the bottom image, bottom-left corner (BLC), bottom-right corner (BRC), left image, right image, top image, top-left corner (TLC), and top-right corner (TRC). All the side images will be tiled, meaning the Frame Editor will repeat your square graphic along each side.
Doodle!
Start drawing graphics you would like to use for your frame design! If you don’t have drawing software, you can find many different apps that are offered for your Mac or iPad. Some of our favorite drawing apps include Autodesk SketchBook, Affinity Designer, Graphic, CorelDRAW, Sketch, and Adobe Illustrator.
Assemble your frame design
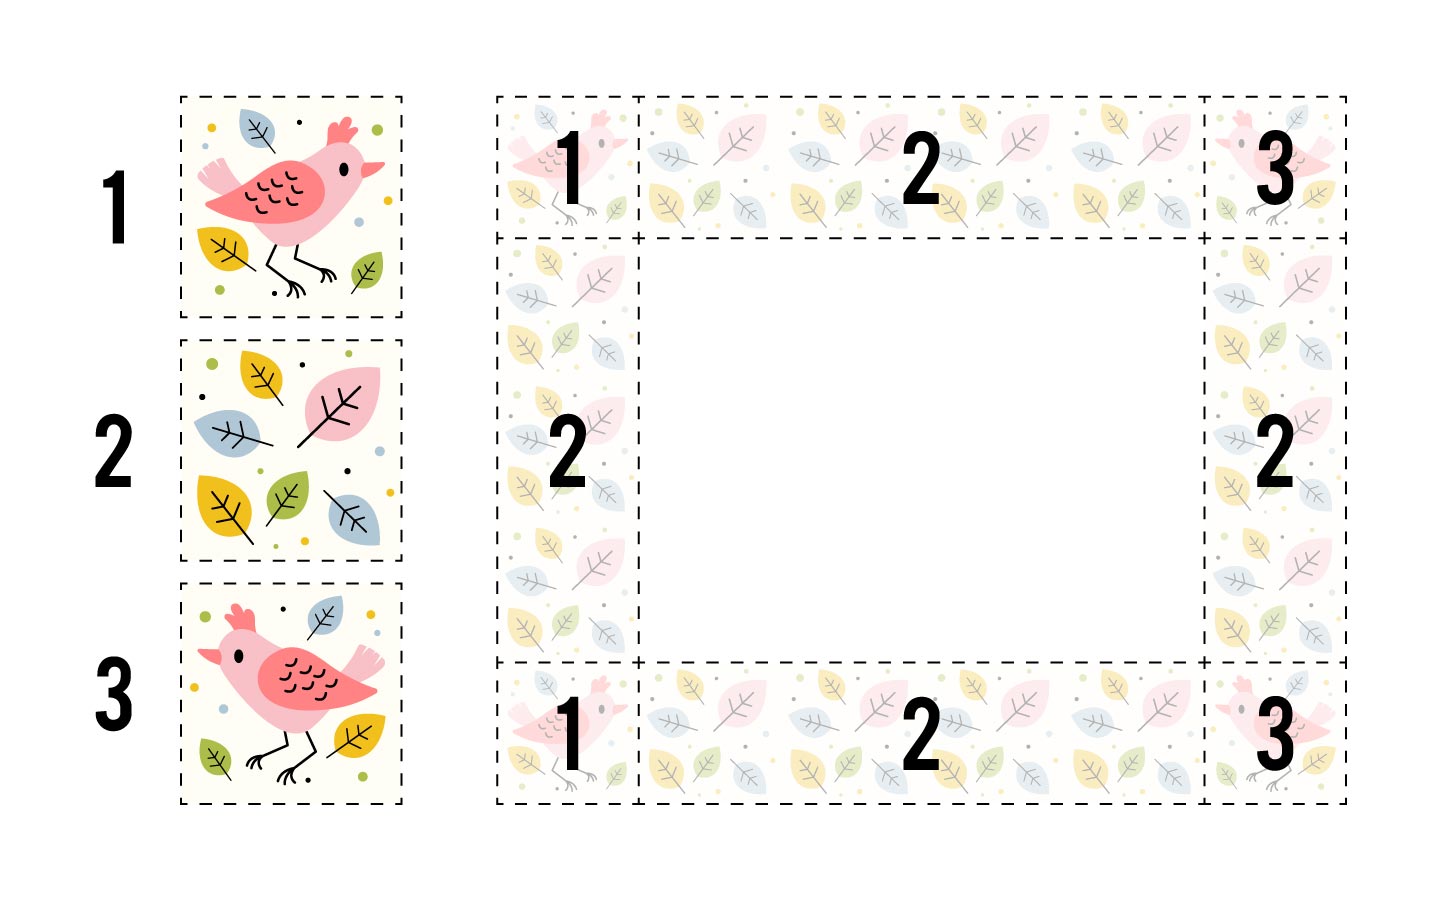
Once you’ve created some graphics, start to visualize where your images will be placed. In this example, we are going to use just three different images to create our corner frame design.
Export your graphics
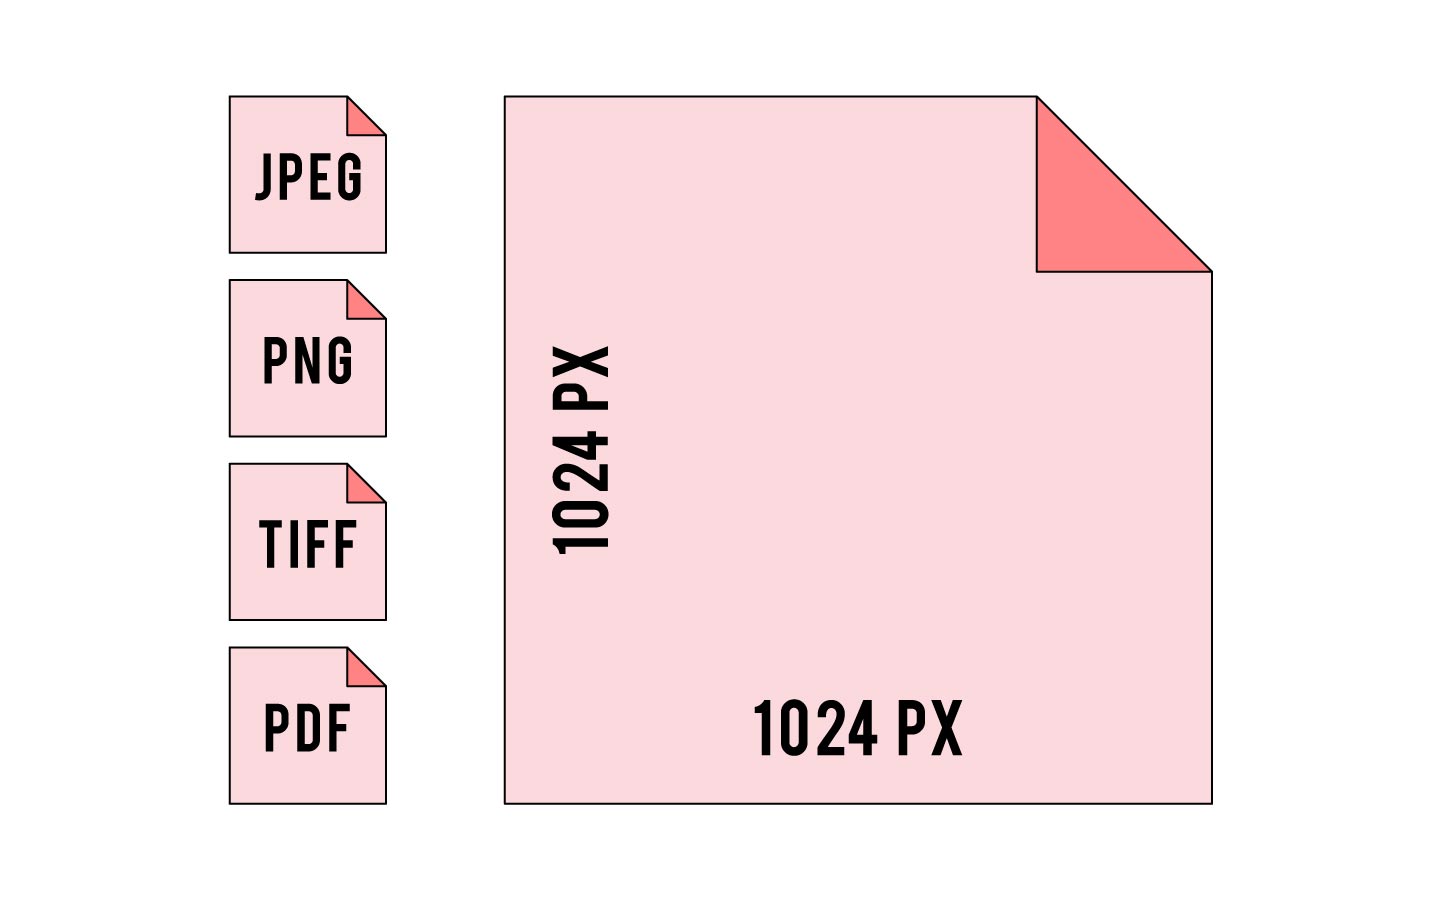
After deciding which images you’d like to use, export them to one of the following formats; JPEG, PNG, TIFF, or PDF. We recommend that you export your final images to a size of 1024 x 1024 pixels.
Create your frame in ImageFramer
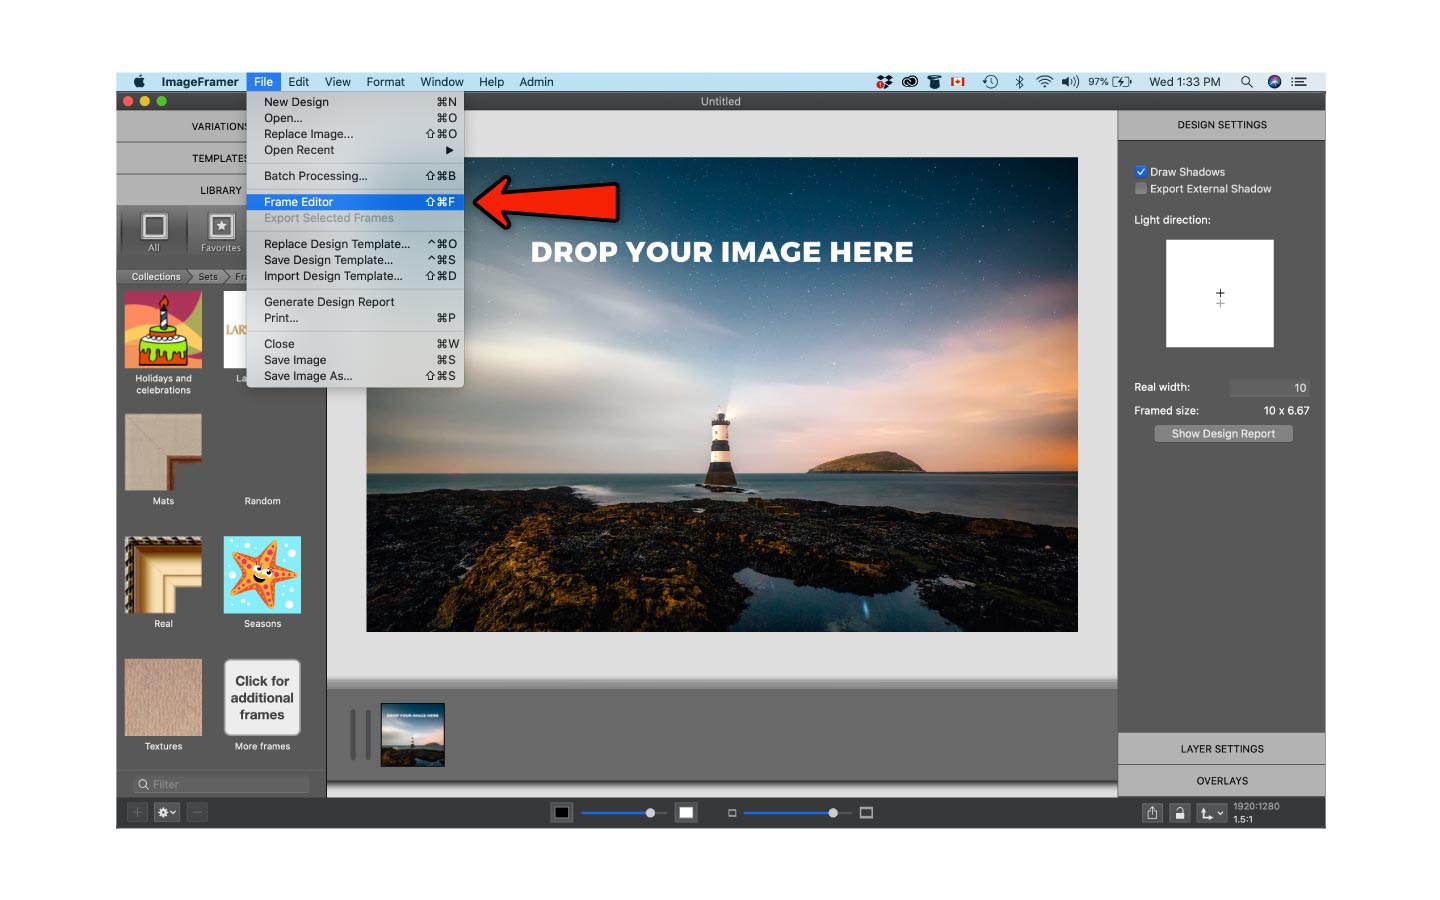
Open ImageFramer and choose Frame Editor from the File menu.
Import your images
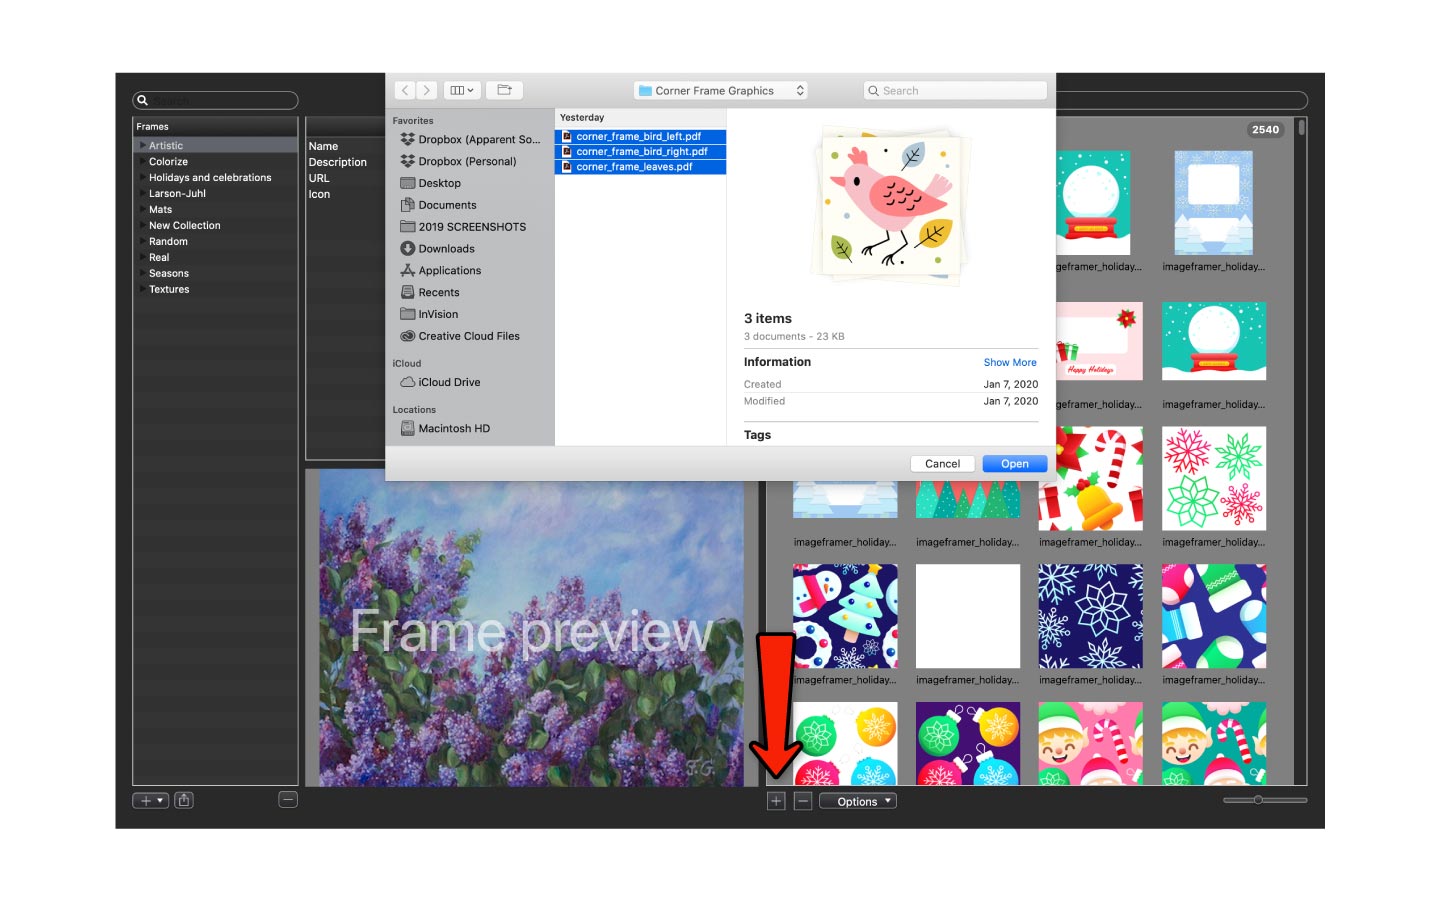
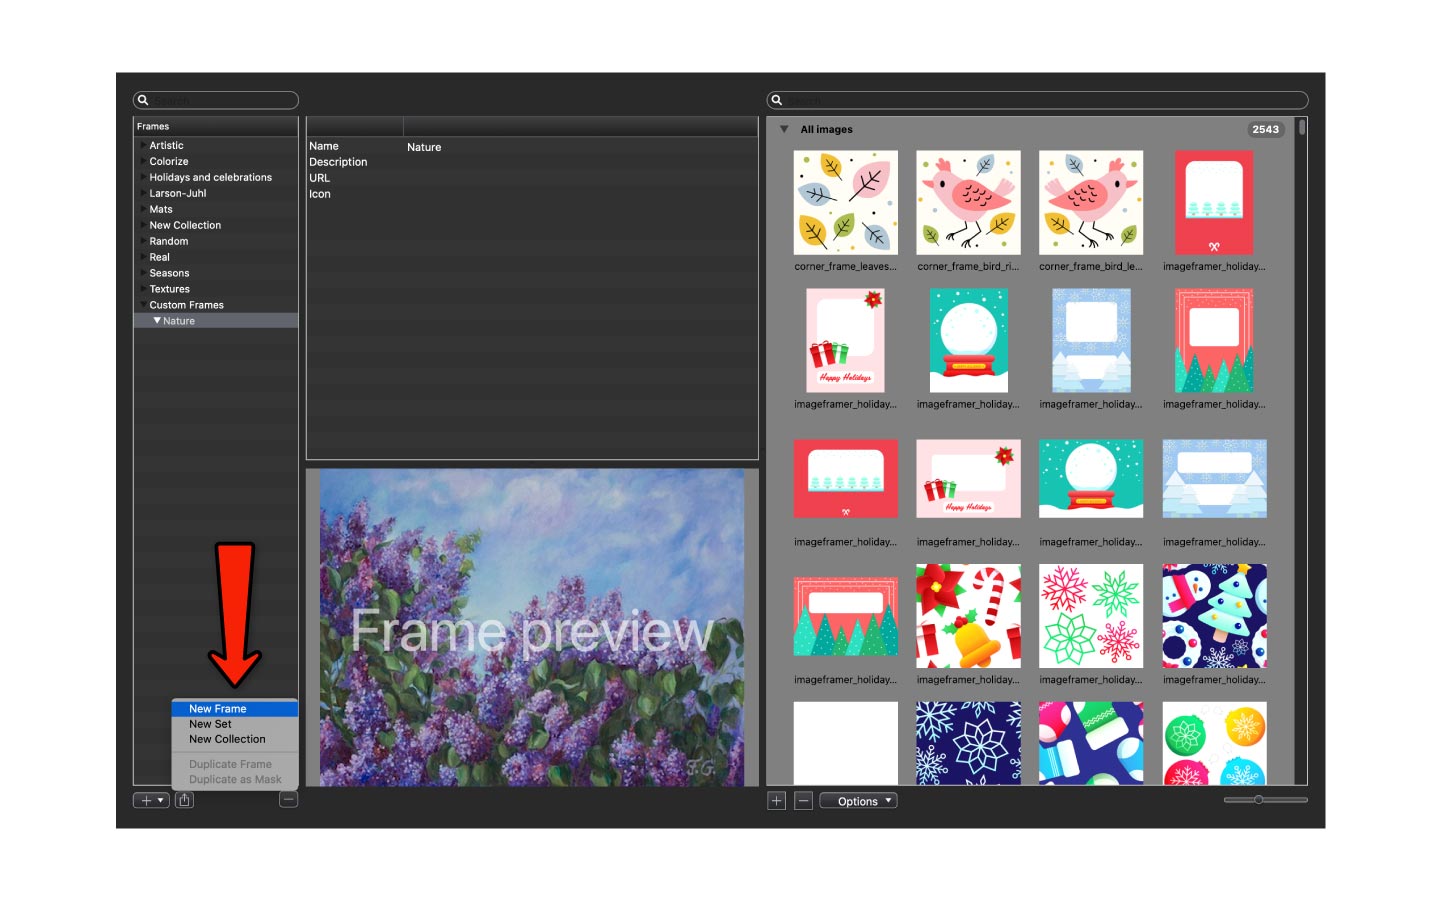
Once you see the Frame Editor, import the custom graphics you created. Click the “+” icon under the image library on the right side of the Frame Editor and upload your designs.
Create a new frame
Create a new frame by clicking the drop-down menu on the bottom left. You can create a new frame in an existing set or you can create an entirely new set.
Place your images
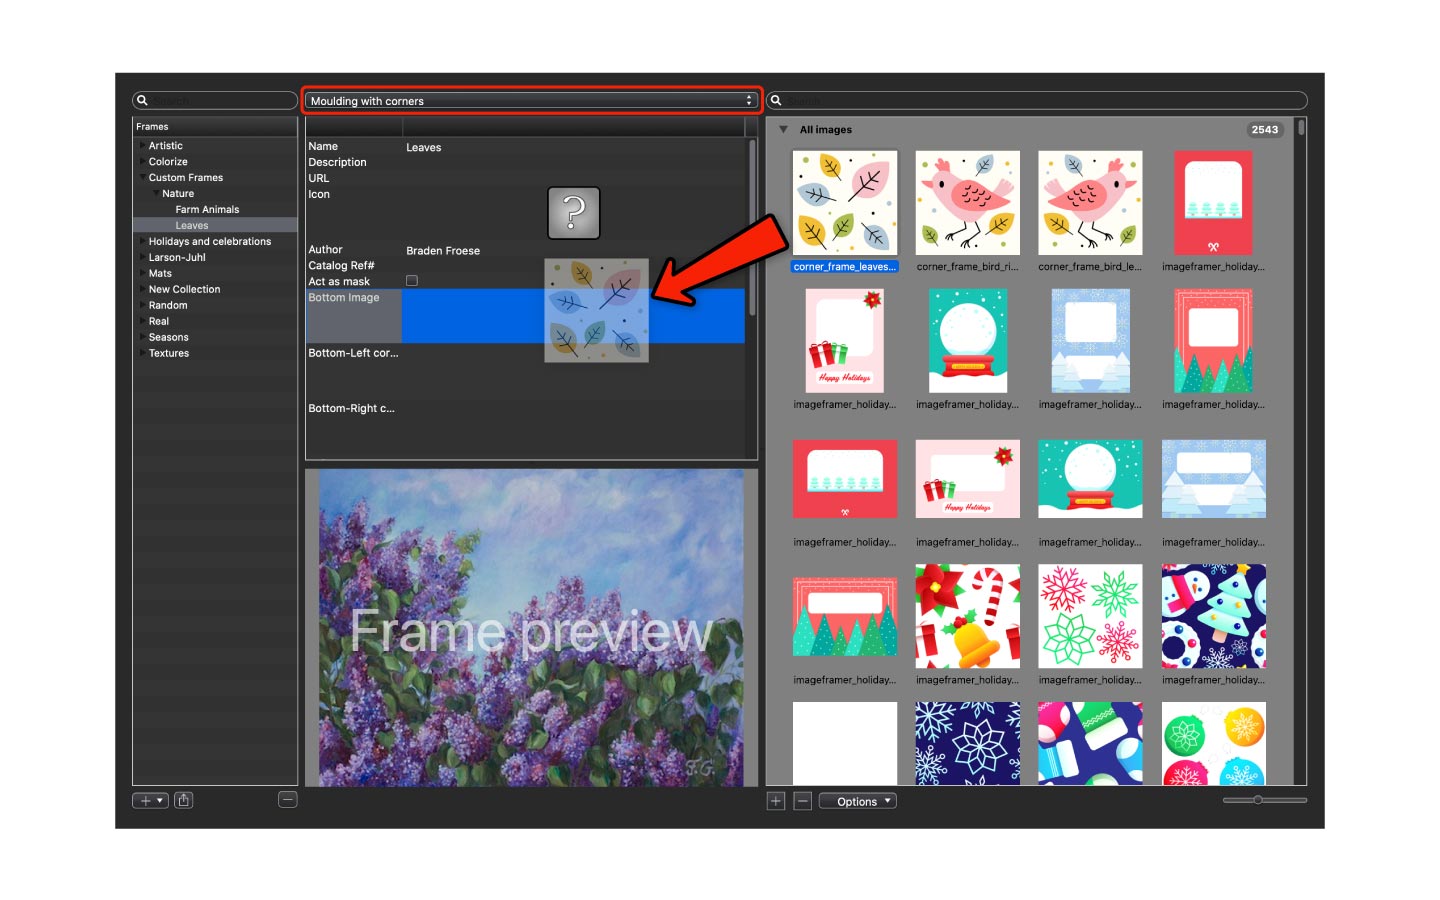
Drag and drop your designs into the desired section of the frame properties panel. Make sure that the “Moulding with corners” option is selected in the frame properties panel menu. Watch your new frame come to life in the frame preview area of the Frame Editor. Note that you don’t need to supply images for each of the eight customizable parts of a Moulding with corners frame. ImageFramer’s Frame Editor will intelligently create your new design based on what you supply.
Use your custom frame design!
Exit the Frame Editor window and enjoy your new frame design. You can find your custom design in the frame set where you created it.
ImageFramer 4: Your art. Showcased.
Download the best-in-class Mac app for adding photorealistic frames and mats to photos and artwork today.
