Adding the right frame to your artwork or photograph can enhance it by providing a sophisticated look. A good picture frame also creates a focal point by separating the image from the outside world. The best way to achieve this is to use a frame that has no gaps or spaces between one part and the next.
In this blog post, you will learn how to create a seamless frame, which is smooth and continuous, and how to add it to ImageFramer to use it with your art.
Creating the graphics for the custom frame
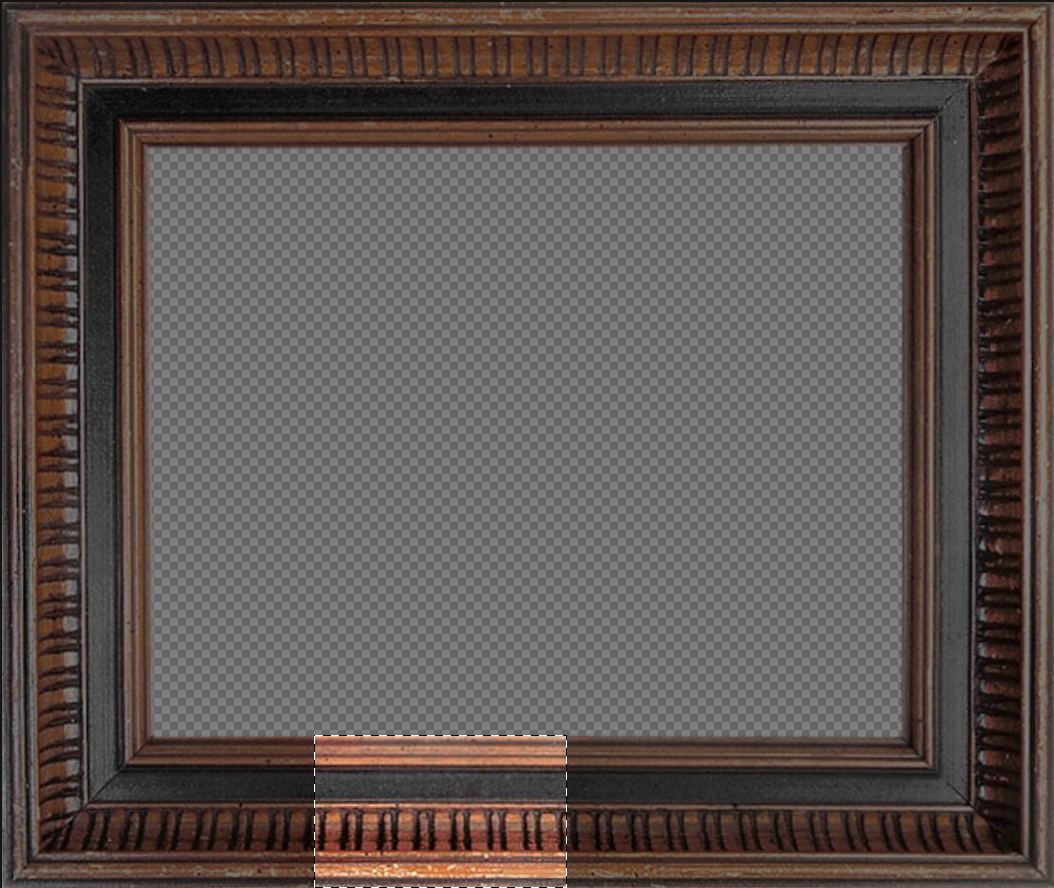
 Choose a design and open it with an image-editing program such as Adobe Photoshop. To the right is an example of a wooden frame.
 Use the rectangular marquee tool to select a portion of the design where the pattern repeats.
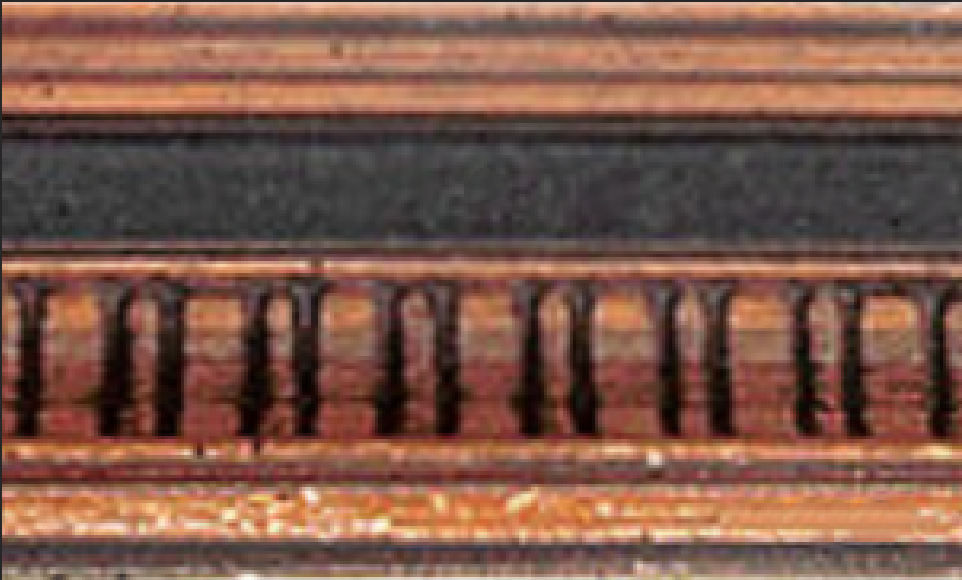 Copy and paste the selected section into a new document.
 Double the width of the overall design document.
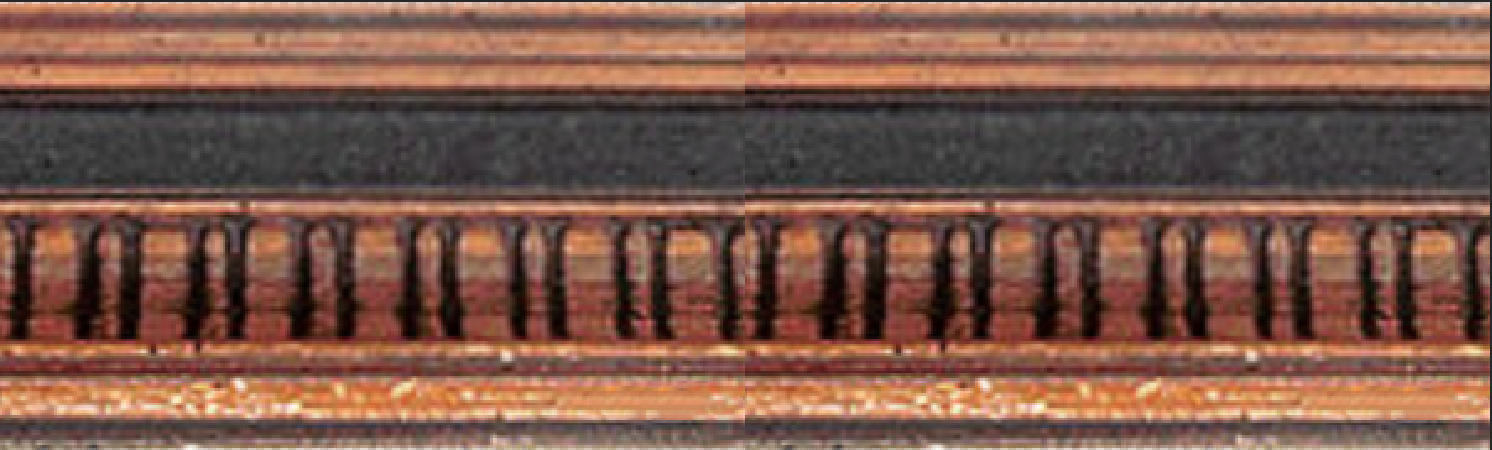 Duplicate the design and move it beside the existing one to fill the space.
 Flip the duplicated portion of the design horizontally so that the pattern repeats evenly and export it as a PNG or JPEG.
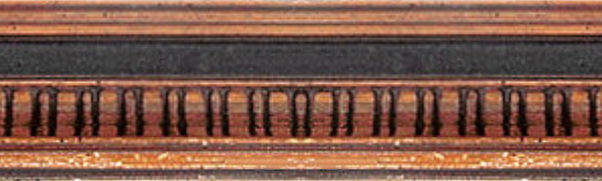
Creating a frame from the graphics in ImageFramer
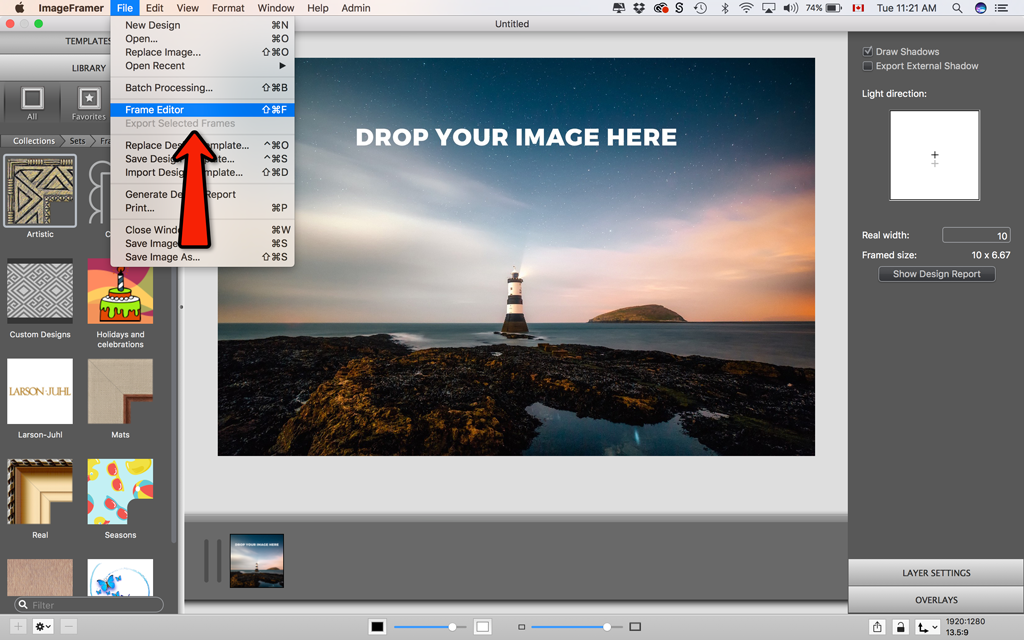
Open ImageFramer and navigate to Frame Editor by clicking it in the File menu.
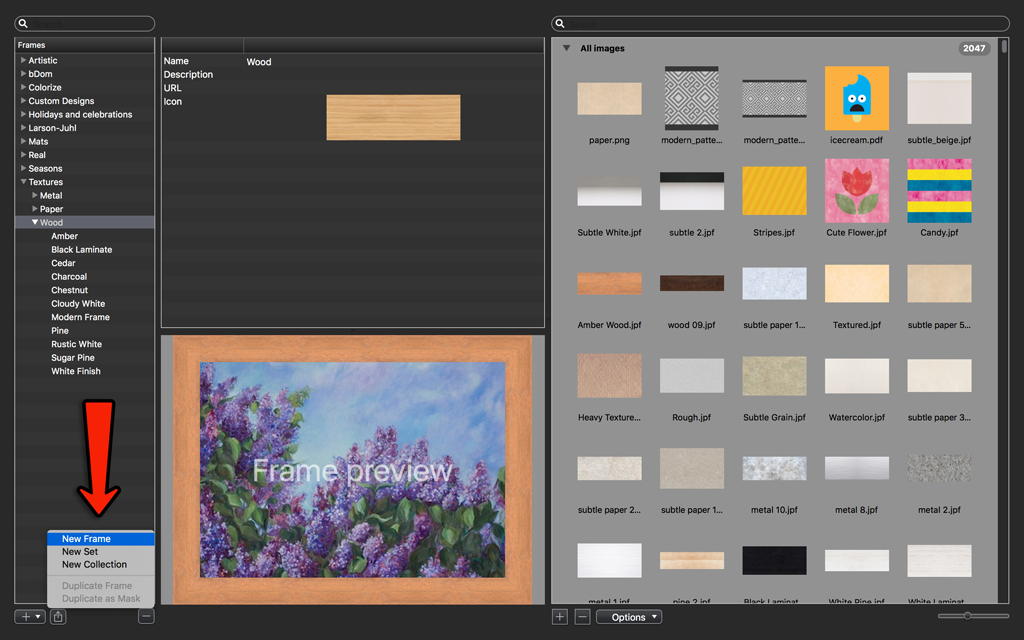
Once you see Frame Editor, create a new frame by clicking the drop-down menu on the bottom left.

Click the “+” button under the image library on the right of Frame Editor and upload your design.
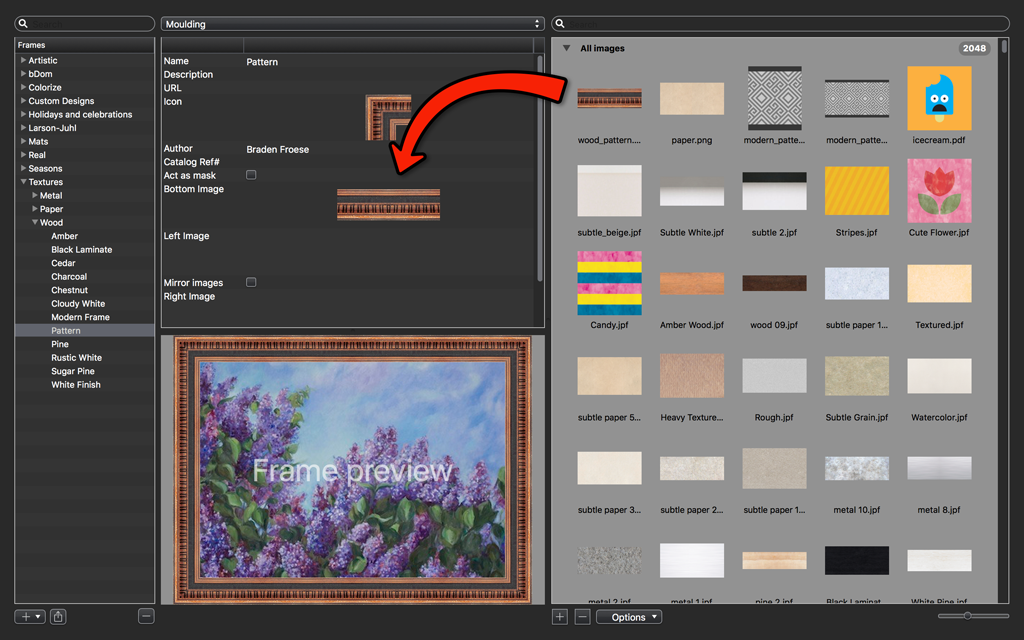
Drag and drop your design into the frame properties panel under “Moulding”.
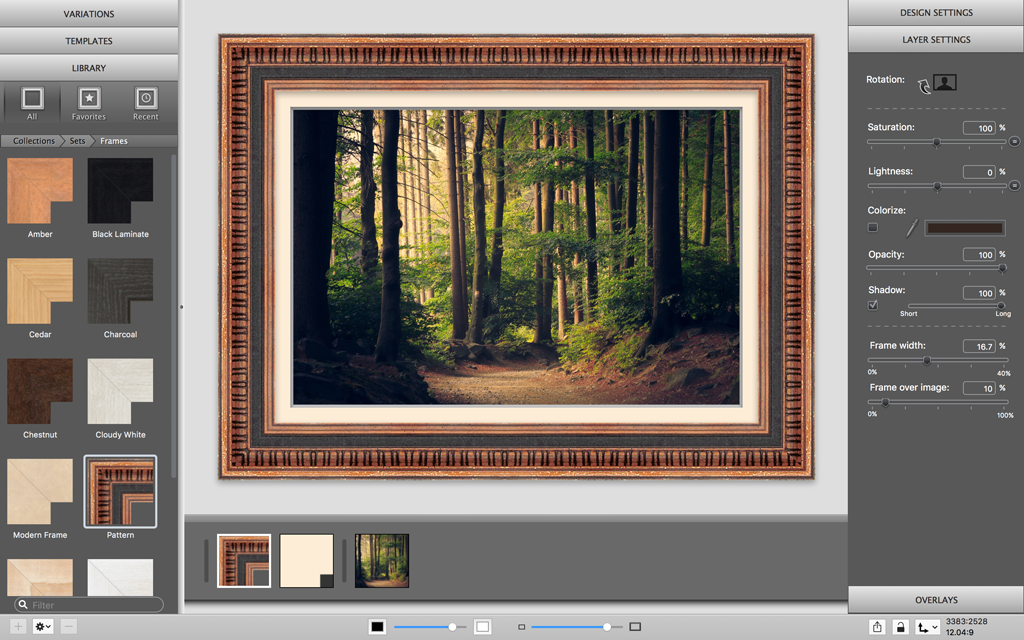
Exit the Frame Editor window and enjoy your new custom design!