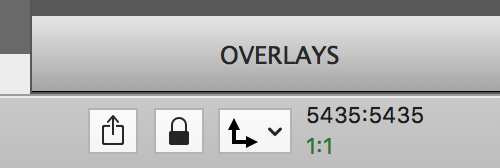
Perhaps the most visible change is that “Watermarks” were renamed to “Overlays”. The origin of the name “watermark” was in the initial intended use for these layers — adding copyright signs or artist names on the framed images. Over time, though, we’ve found that the name was confusing because “watermarks” have a more specific meaning, so we decided that “overlays” is a clearer name for these special layers.
Another addition to the interface is the lock button on the right side of the bottom bar, near the aspect ratio button.

One of the repeating support questions that we receive is people taking an image that is, for example, in a 3:2 aspect ratio (think of a 6″ by 4″ photograph), then adding a frame on the outside and then expecting the framed result to also be in a 3:2 ratio for printing.
Of course, adding an outside frame makes the result more square, closer to 1:1 aspect ratio. The solution to getting output in a specific aspect ratio is to crop the image layer in such a way that the result becomes in the desired ratio. ImageFramer already provided some help with this by displaying the current aspect ratio. But manual cropping is too time-consuming, hard to get exact and needs to be repeated after every change to the frame size, which is annoying.
Luckily, computers are quick at math, if you teach them how. So that’s what we did. We programmed an algorithm for ImageFramer to automatically crop the image to get desired final aspect ratio. The “lock” button enabled this behaviour. When the lock is locked, ImageFramer will apply the minimal crop that will keep the framed result in the target aspect ratio.
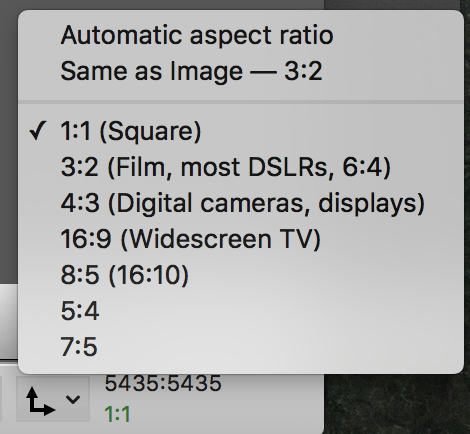
But what is this target? That’s where the two-arrows button comes into play.

Without a lock, it behaves as previously, as a hint to the aspect ratio value that’s displayed to its right. With the lock, though, it selects the aspect ratio that ImageFramer will keep locked. You can use any of the presets, select the new option “Same as Image” that will keep the output in the same aspect ratio as the input image (before cropping), and the top options, “Automatic”, will lock to the current aspect ratio, which can be handy sometimes.
So ImageFramer will crop the image but by default it will crop to the center of the image. What if you want to change which part of the cropped image to show. With ImageFramer 3.4, cropped images can now be repositioned when dragged with the mouse.
This will automatically adjust the crop parameters for the image layer. This works not only when the lock is enabled but also when you crop manually. But when the lock is enabled, the automatic cropping will keep the visible portion of the image the same, instead of cropping to original center of the image.
Watch this short video to see it in action (full-screen viewing recommended):
ImageFramer 4: Your art. Showcased.
Download the best-in-class Mac app for adding photorealistic frames and mats to photos and artwork today.